
Foxtail fern, regardless of its title, just isn’t a real fern. Its lengthy stems have feathery needles that resemble fern fronds, therefore the title. They develop upwards in an erect vogue, and their needles are so dense that they resemble foxtails.
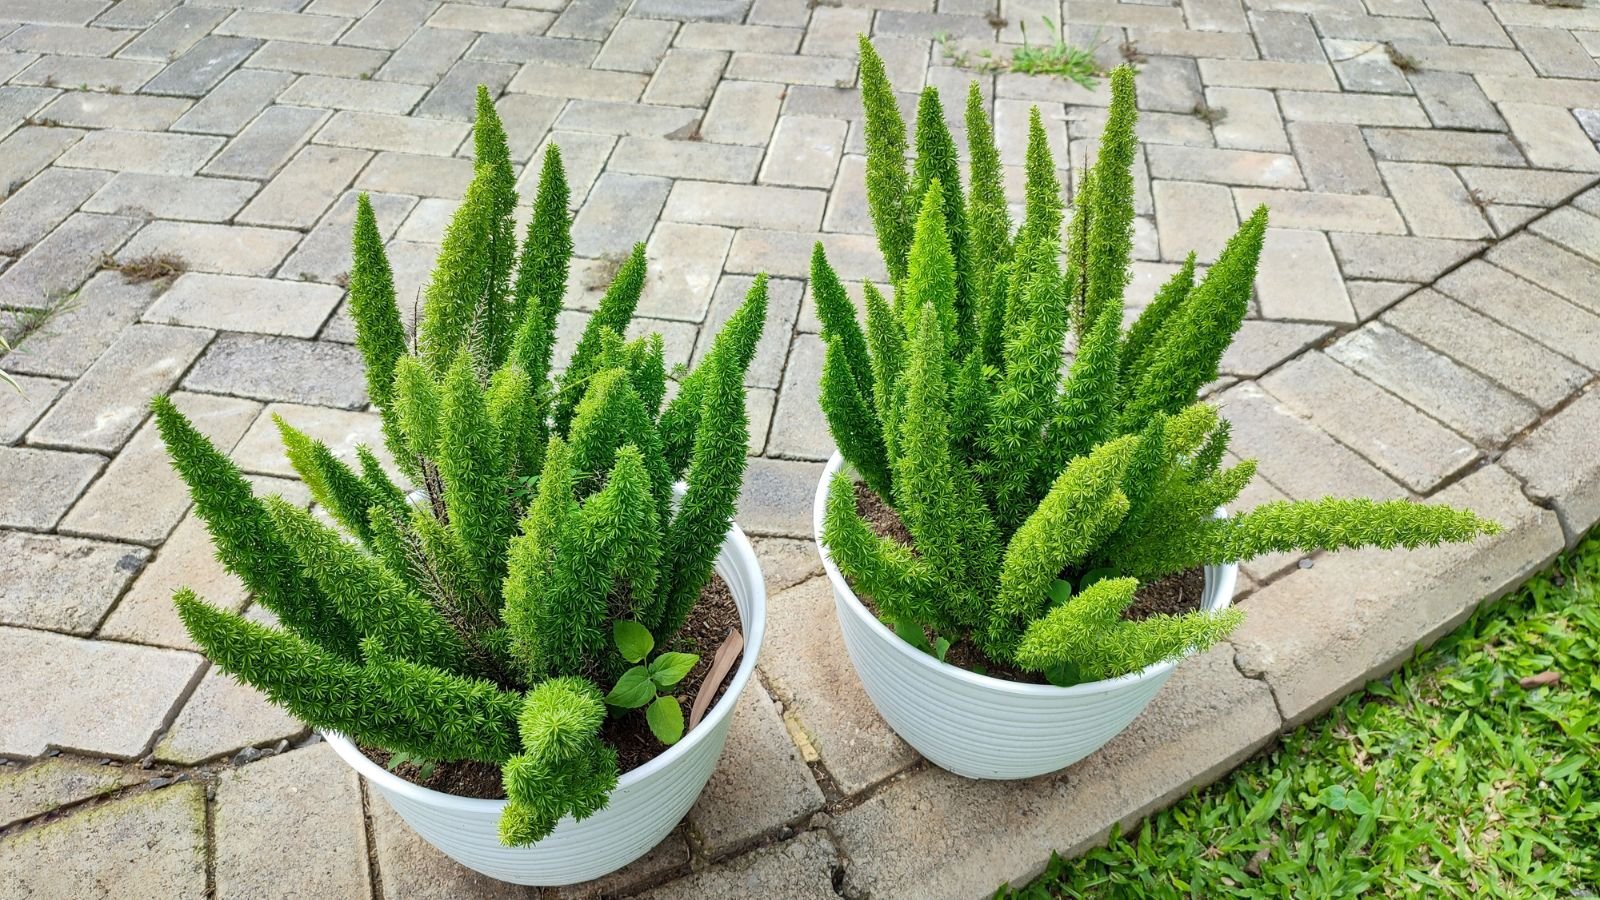
In actuality, the foxtail fern is a species of Asparagus that grows nicely open air in delicate climates. Rising foxtail ferns in containers means you’ll be able to carry them inside when it will get chilly in the course of the winter. The foxtail fern is ideal for including lush, inexperienced colour and texture to your backyard, regardless of if it’s indoors or open air.
A thriving foxtail fern wants good soil, optimum rising circumstances, and shiny mild. Guarantee your plant has what it must thrive, and it’ll reward you with good-looking foliage full of sentimental, fuzzy needles. Regardless of the place you reside, you’ll be able to efficiently develop foxtail ferns in pots and containers.
Step 1: Discover a Foxtail Fern

Foxtail ferns are kinds of Asparagus densiflorus. ‘Myersii’ is the most typical and oldest used cultivar. You might also see it below ‘Myers,’ ‘Meyeri,’ and ‘Meyersii.’ They’re all totally different names for a similar plant.
Search for this cultivar on-line, or seek for it at develop outlets and plant nurseries. It’s generally obtainable in small and enormous pots. It’s a standard landscaping plant in frost-free climates, and it’s obtainable in outside backyard facilities in these areas.
Discover a fern that works for you. Select a small one you probably have a small house for a houseplant. If you happen to’re rising these ferns in your patio, select bigger specimens that’ll look nice immediately after planting.
Step 2: Select a Pot

These ferns want to dry out between waterings, in order that they want a pot that lets moisture drain freely. Use ceramic, plastic, or steel pots. Terra cotta is excellent, because it’s porous and free-draining
Regardless of the pot you select, guarantee it has drainage holes that allow extra moisture escape. A easy pot with a drainage gap will do, although planters work nicely too.
Place a saucer or tray beneath the pot to catch the draining water. That is particularly essential for foxtail ferns in containers indoors, as you don’t need water getting throughout your counters and flooring. If you happen to don’t have a tray, use an previous plastic container as a saucer.
You’ll additionally want good soil on your fern. These crops want nutrient-rich, well-drained soil. Buy a combination from the shop, or make one your self with free-draining components. If the soil is poor in vitamins, combine in a powder natural fertilizer with balanced quantities of nitrogen, phosphorus, and potassium.
Step 3: Transplant the Fern
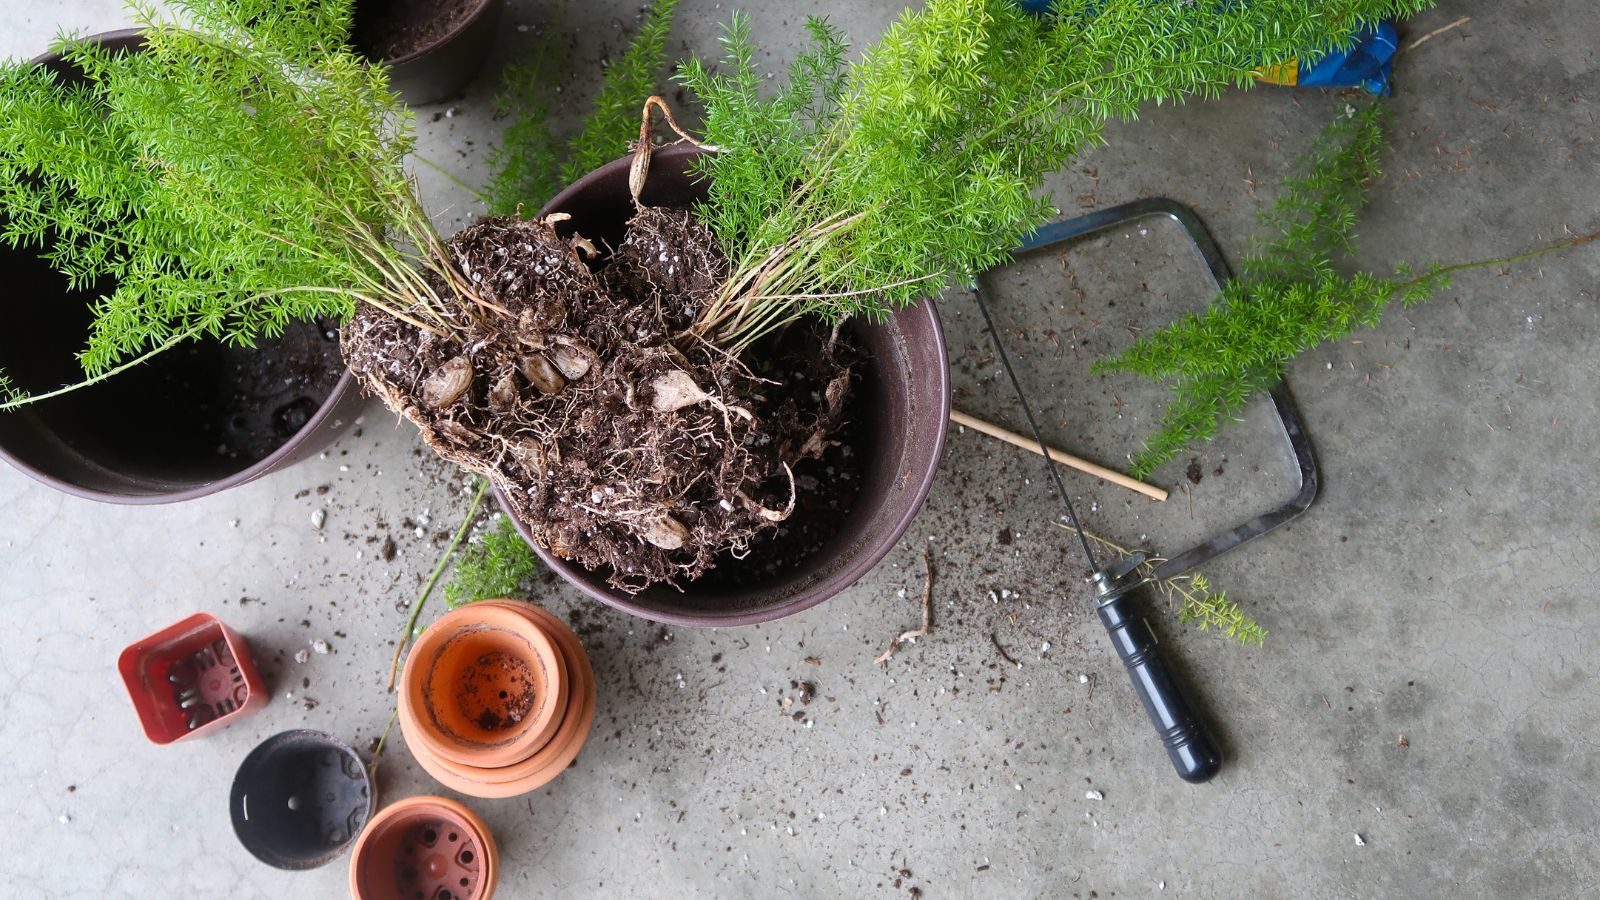
It’s protected to transplant foxtail ferns in the course of the rising season. If it’s fall or winter, you’ll need to full the transplanting course of indoors to assist the roots acclimate to their new surroundings. In frost-free climates, transplant the ferns anytime you’d like.
Begin by making ready every new pot for planting. Fill them midway with soil and make a gap in every one for the ferns’ rootballs. Then, take away your foxtail ferns from their pots and set them inside the brand new containers.
Cowl the roots with extra soil, and water it nicely when the soil reaches the floor. If it sinks beneath the roots, add extra dry soil on prime and water once more.
Step 4: Take care of Your Plant

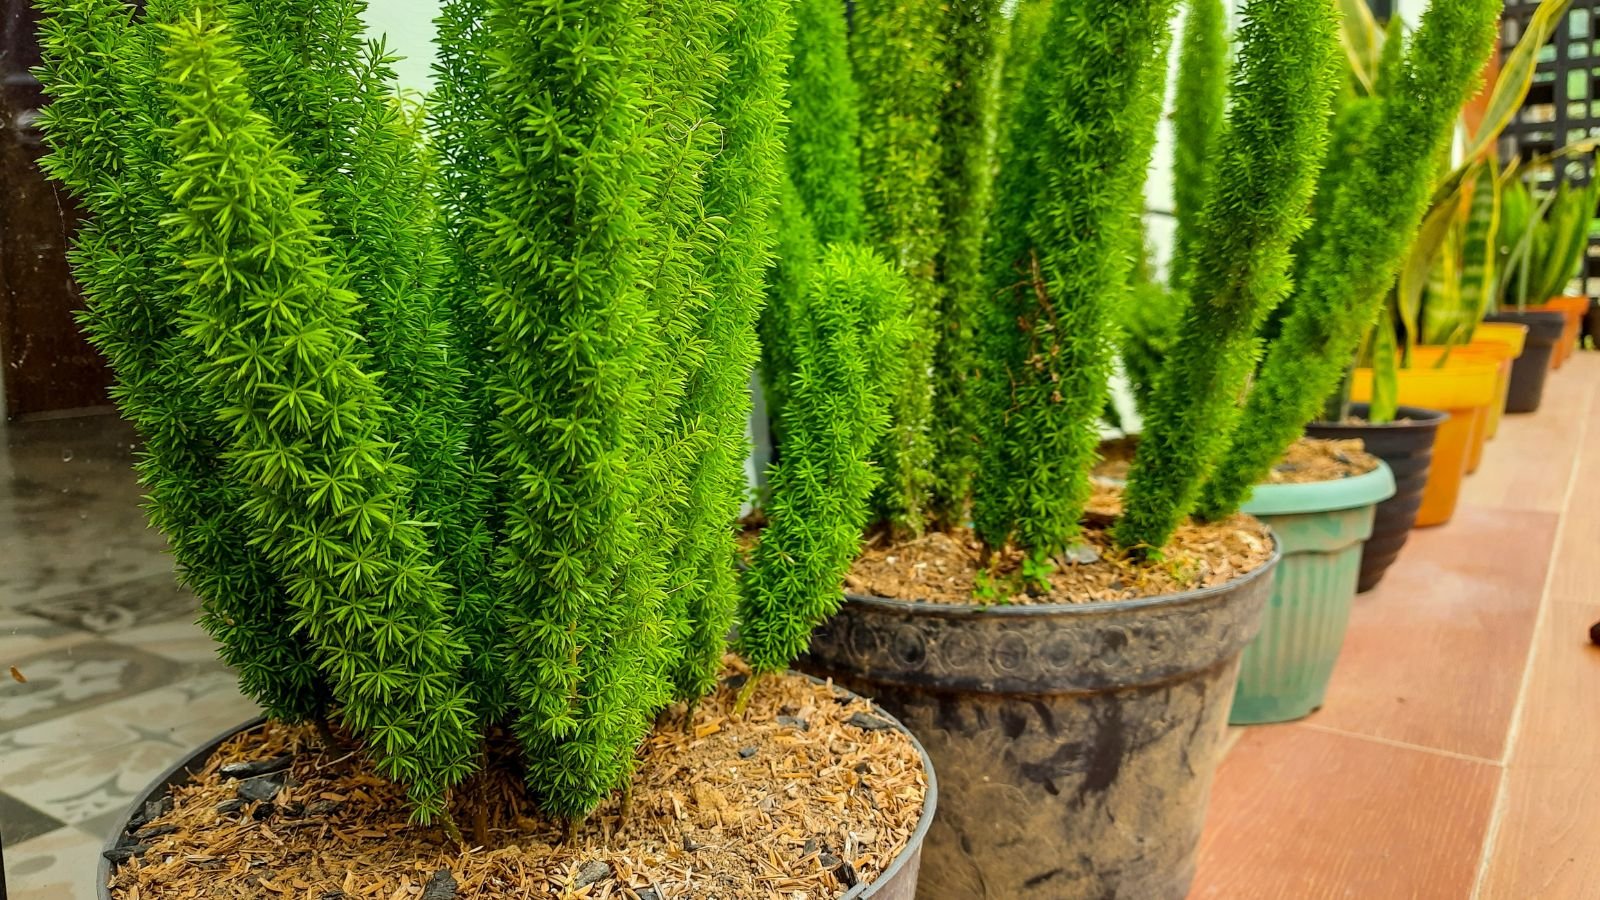
Foxtail ferns in containers want shiny mild to thrive. Situate them close to a window with loads of pure daylight. Or, use plant develop lights to brighten darkish rooms. The ferns reply nicely to synthetic mild, particularly in the course of the winter when the times are brief and chilly.
Outside, these specimens want full solar or partial shade. They will need to have afternoon shade in scorching climates, as direct afternoon daylight could cause the leaves to burn and scorch. They’ll develop finest with shiny mild for many of the day.
After getting the lighting all configured, start a standard watering schedule. You need the ferns’ soil to dry first earlier than you water once more. If you happen to’re uncertain of the moisture ranges, use your finger to verify beneath the floor. Stick it in and sense whether or not it’s moist or dry beneath, then determine whether or not or to not irrigate.
Air move is the ultimate consideration. Keep away from inserting your ferns close to heaters or A/C models, as they have an inclination to dry the air. Place them the place there’s loads of ambient humidity. If it’s not very humid, use humidifiers indoors to spice up moisture ranges.
Step 5: Overwinter in a Heat Spot
These ‘pretend’ ferns love heat. They’ll overwinter open air in USDA hardiness zones 9 by means of 11. They develop finest indoors in the course of the winter in zones 8 and beneath.
The inexperienced fronds are evergreen, and they’ll survive cool temperatures. When temperatures drop to 20-25°F (-7 to -4°C), the fronds might die again to the roots. New progress will sprout within the spring if the roots survive the chilly temperatures.
If you happen to’d like to make sure the foxtail ferns survive, carry containers inside! Transfer them to a shiny, sunny windowsill or set them below LED develop lights. Make sure to not overwater them, and allow them to adapt to the hotter climate of your private home.
In zone 9, defend your outside potted ferns with frost material if the climate will get unusually chilly at evening. Cowl them fully, then take away the covers within the morning when the solar rises and the climate warms.
Step 6: Transfer Outside in Spring
You will have two selections in spring: go away the ferns indoors, or transfer them outdoors for the rising season. There’s no unsuitable alternative, although transferring them outdoors will assist them thrive with extra daylight and pure rainfall.
Give your ferns a delicate transition, and transfer them outdoors every week or two after your final common frost date. Transfer them for a couple of hours a day, then carry them again inside at evening. Every day, prolong how lengthy you permit them out till they’re totally outdoors all day and evening.
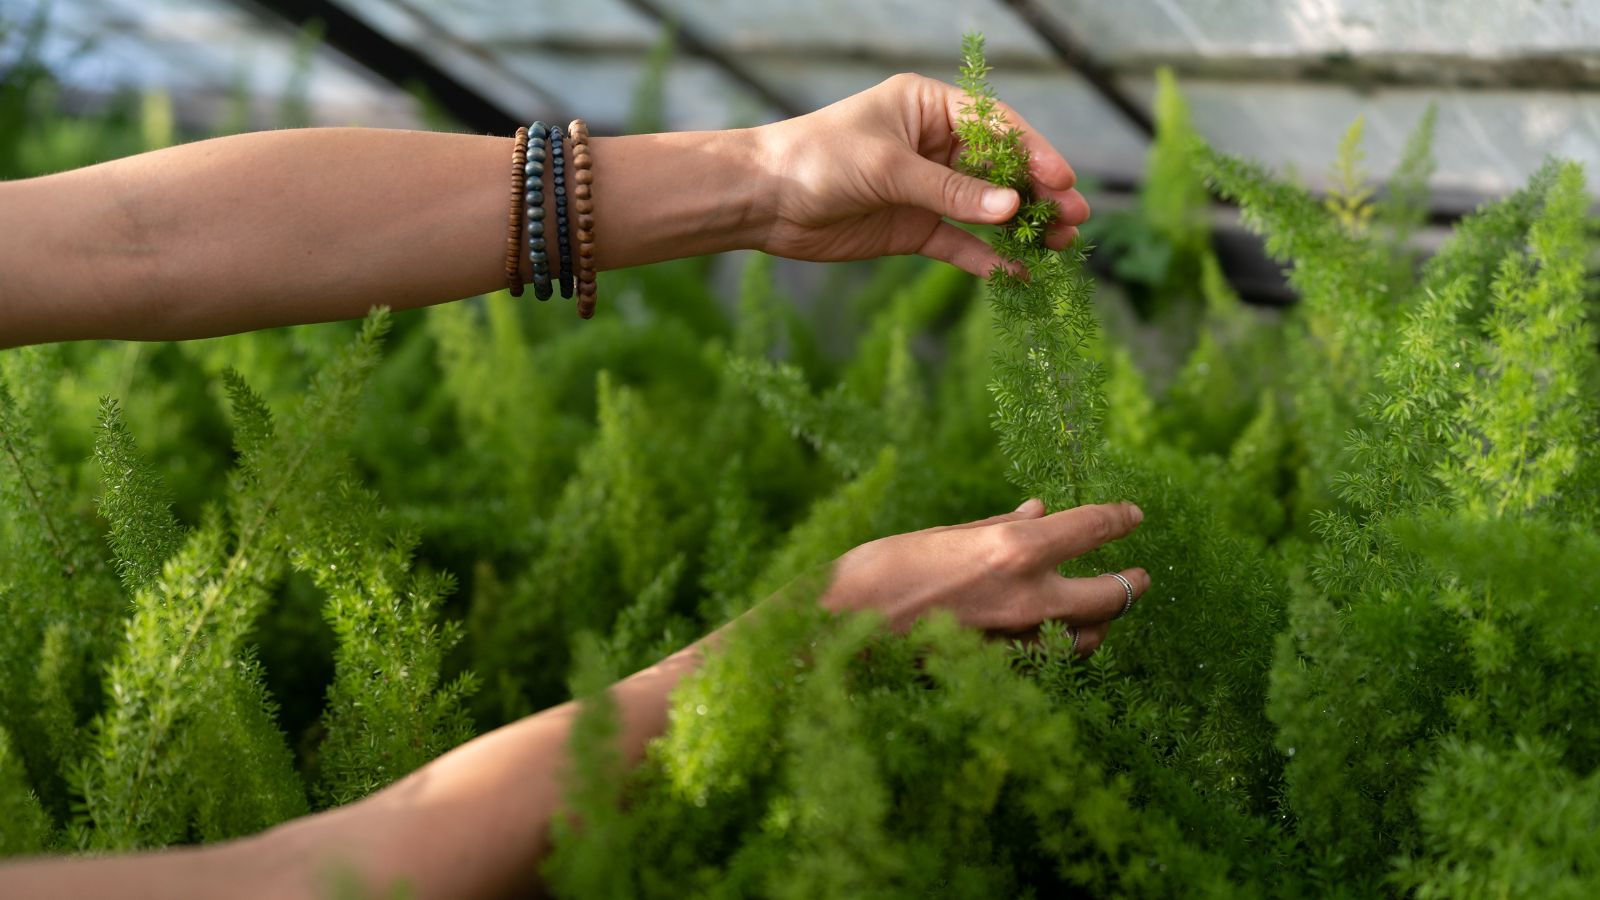
Wash all of the mud from the indoor winterization interval off with a hose. Refresh the ferns’ fronds, and trim any useless or weak stems. Although uncommon, the foxtail fronds might develop inexperienced berries that flip pink. Take away them to stop the plant from spreading, because it’s invasive in some states.
Step 7: Repot, If Essential
Spring is an effective time for repotting. In case your fern’s roots look rootbound and so they’re poking out of the soil, it could be time to uppot the plant. Take away the plant from its pot, and use a pointy knife to chop it out if it gained’t budge.
Foxtail fern roots are vigorous. They might break the pot in case you don’t transplant them each two to a few years. Don’t be afraid to chop them to take away them, as they’ll shortly get better after planting.
Uppot your ferns into bigger pots with extra room for progress. Give them recent soil and a great dose of water, then set them below shiny mild whereas they set up themselves.
And that’s all there’s to it! Repeat the steps once you desire a new plant, or divide your current specimens to propagate new ferns. Dig them up, slice them in two, and plant the divisions in new containers with good soil.
Key Takeaways
Ceaselessly Requested Questions
Foxtail ferns are long-lived specimens! They’ll develop for a lot of a long time in containers, and so they’ll outlast lots of your different perennials.
Younger crops might develop nicely in shallow pots, although over time they’ll want bigger containers. Their roots are quick-growing and vigorous, and so they require repotting each two to a few years to thrive.
Sure, they do! They thrive in pots, and this limits them from spreading in your backyard. Uninhibited, they’ll kind a clump about three ft tall and vast.