
Indoor garlic rising is a area of interest passion. Most gardeners choose to plant cloves outside within the fall for summer season harvests. So, why would you wish to plant this bulbous perennial indoors?
In the event you, like me, choose consuming garlic on every thing, you’ll wish to strive rising this crop indoors year-round. Your potted specimens gained’t produce giant bulbs, however they’ll sprout edible leaves that you could be snip off to eat. They want little care to thrive, and so they’ll produce leaves indoors when nothing else grows outdoors.
Garlic leaves have a sweet-savory style that blends effectively with recent and ready dishes. Chop them up in salads, or depart them entire in stews and sautés. Not solely are they versatile within the kitchen, however they’re additionally simple to develop indoors.
These 5 simple steps will information you thru the method if you wish to develop garlic indoors. Do this methodology indoors whereas your garlic crop overwinters below cowl outside. Or, strive it in case you stay in an residence or rental with restricted gardening house.
Step 1: Choose Your Garlic

To develop garlic indoors, begin by selecting a range you’ll get pleasure from consuming. The leaves resemble the cloves, so it’s greatest to choose a good-tasting selection you recognize you’re keen on. In the event you’re uncertain what kind you want, merely select natural bulbs from the grocery retailer and use their cloves for planting.
It’s greatest to decide on softneck sorts, as they don’t want chilly climate to thrive like hardneck garlic. Hardneck garlic grows a scape with mini-cloves referred to as bulbils or bulblets. Softneck sorts lack a scape, and so they’ll thrive within the heat of the indoors.
Elephant garlic is definitely a kind of leek, although its bulbs style and cook dinner like garlic. It’s a hardneck kind and grows greatest outside.
As a substitute of planting cloves indoors, you may additionally plant perennial garlic chives. This species, Allium tuberosum, grows leafy foliage and small bulbs which can be each edible.
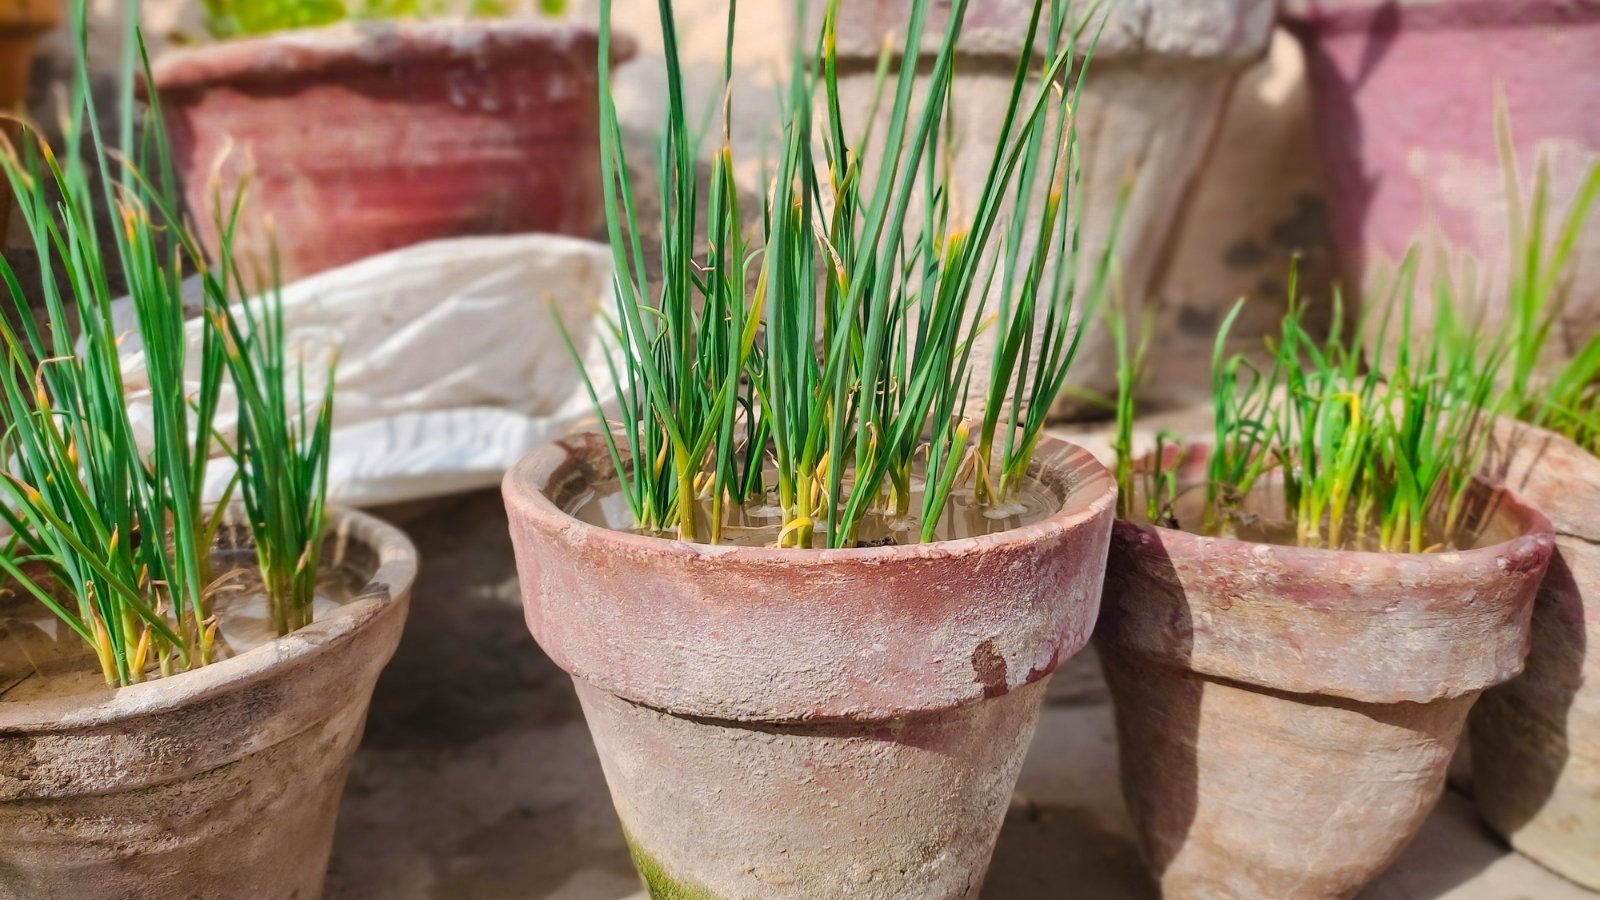
Step 2: Put together Rising Web site
This perennial wants direct daylight to thrive. It’s greatest to develop the bulbs in pots close to a sunny window with no less than three hours of every day direct daylight. In darkish rooms, think about including plant develop lights to brighten the house.
This bulb prefers rising in well-drained soil. It’s particularly susceptible to root rot indoors, and it’s greatest to maintain the soil on the drier facet to stop mushy roots. Add perlite, vermiculite, or pumice to your soil combine to spice up the drainage.
Exterior, water drains into the soil. Indoors, you’ll wish to arrange pots with backside trays to seize extra moisture. Use particular person saucers for spherical pots, and place sq. or rectangular backside trays beneath seed beginning trays.
A single clove wants a pot eight inches deep and greater than 4 inches extensive. Use a number of small pots, or plant many cloves in a single giant container. Since you’re cultivating the foliage and never the bulbs, you might pack the crops shut collectively within the containers.
Step 3: Plant Cloves
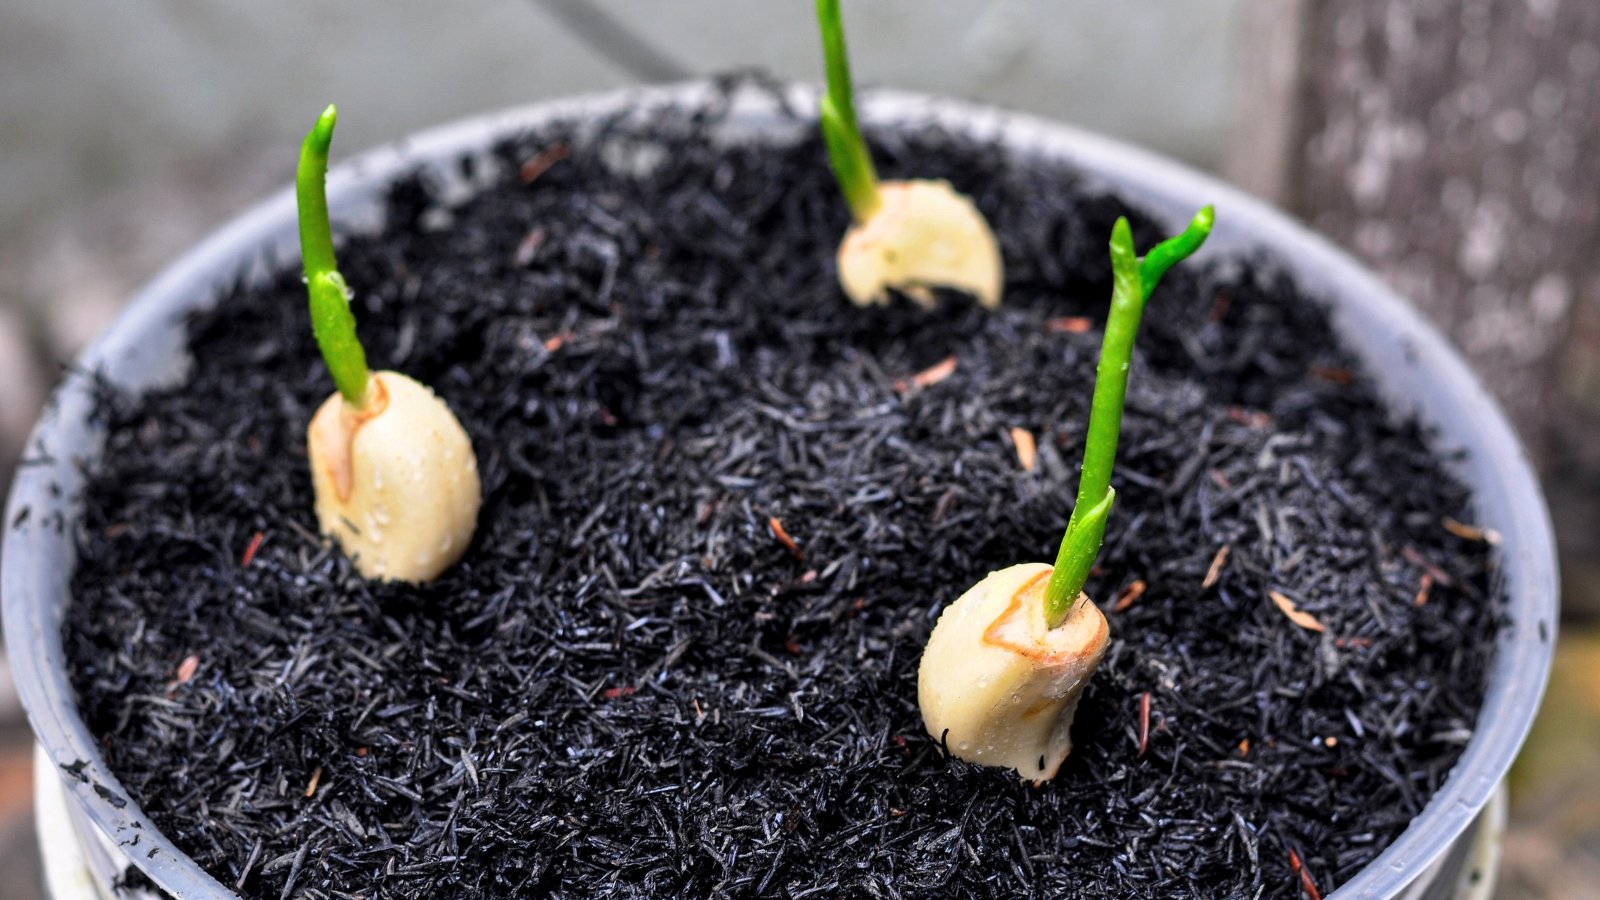
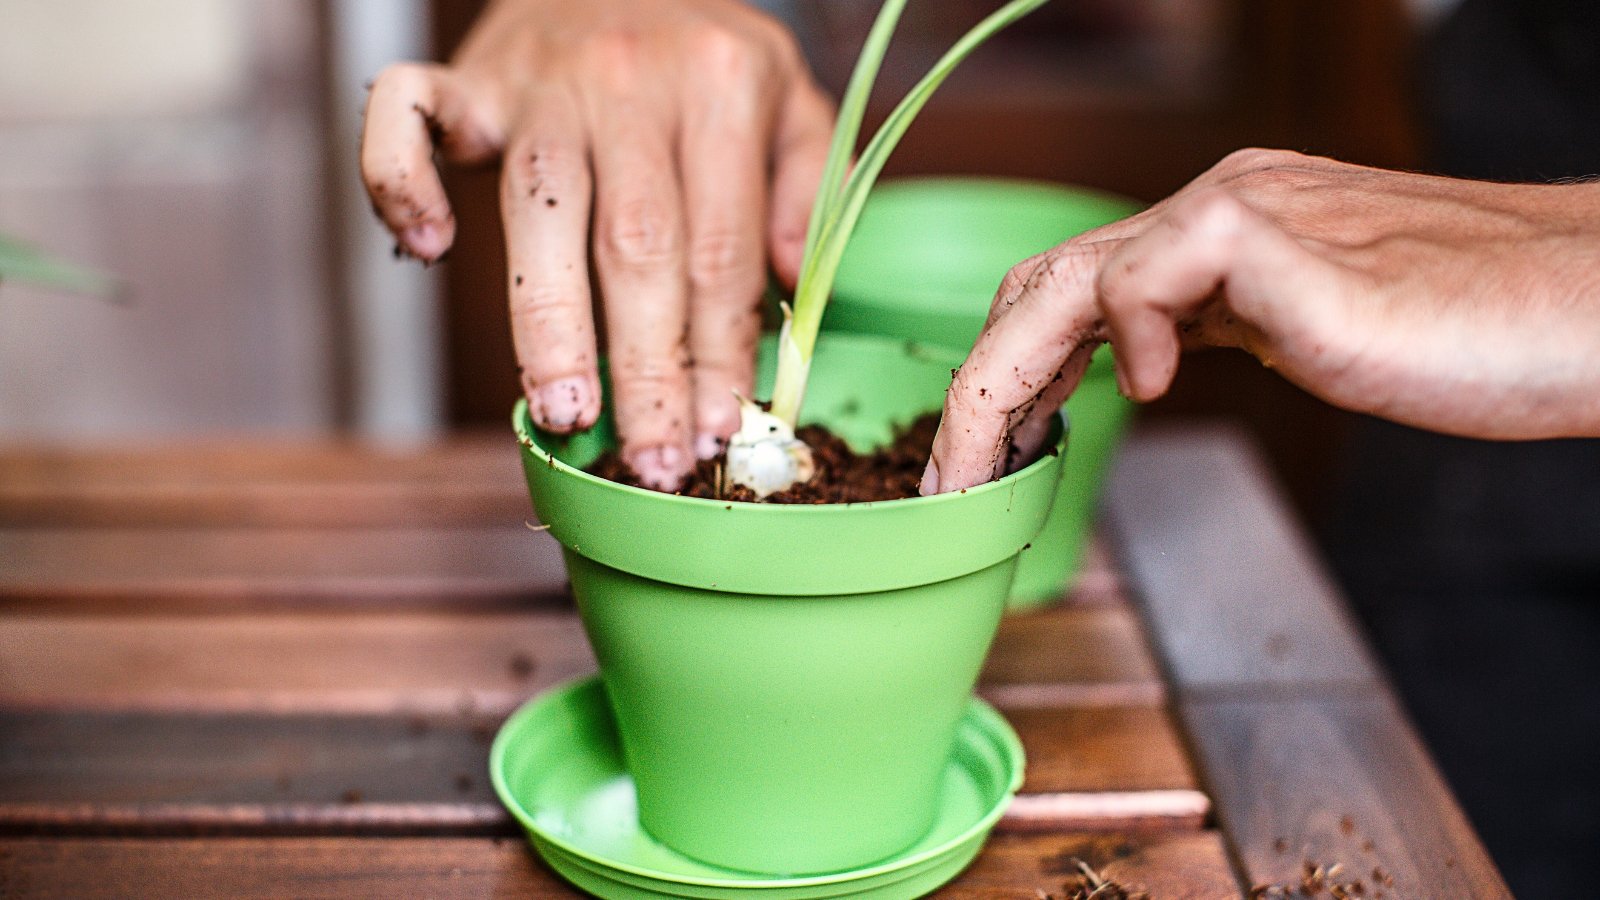
As soon as every thing is ready up and able to develop garlic indoors, it’s time for planting! Some growers select to droop their cloves in jars of water to encourage them to root. It’s far simpler to plant the cloves in pots with dust; that method, you gained’t have to fret about transplanting them sooner or later.
Begin by filling your pots with just a few inches of soil. Plant the cloves two to 3 inches deep within the pots, and canopy them with dust. After planting, water every pot effectively to saturate the soil.
Repeat the method for every garlic clove. You don’t have to unwrap them. Merely separate them from the bulbs and plant them in containers.
Step 4: Water Sparingly
This onion relative is susceptible to fungal circumstances that trigger rot. That is very true indoors, the place the crops could not obtain as a lot daylight as they like. Discourage illnesses by watering sparingly.
First, look forward to the higher floor of the soil to dry. Then, test the pot together with your finger. Stick it within the soil below the floor and see if it’s moist or dry. If it’s dry, water effectively to saturate the soil. If it’s moist, wait just a few days earlier than checking once more.
Additionally, keep away from letting the pots sit in extra water. As soon as the moisture drains into the trays, dump it out into the sink. The garlic could rot if it sits in standing water.
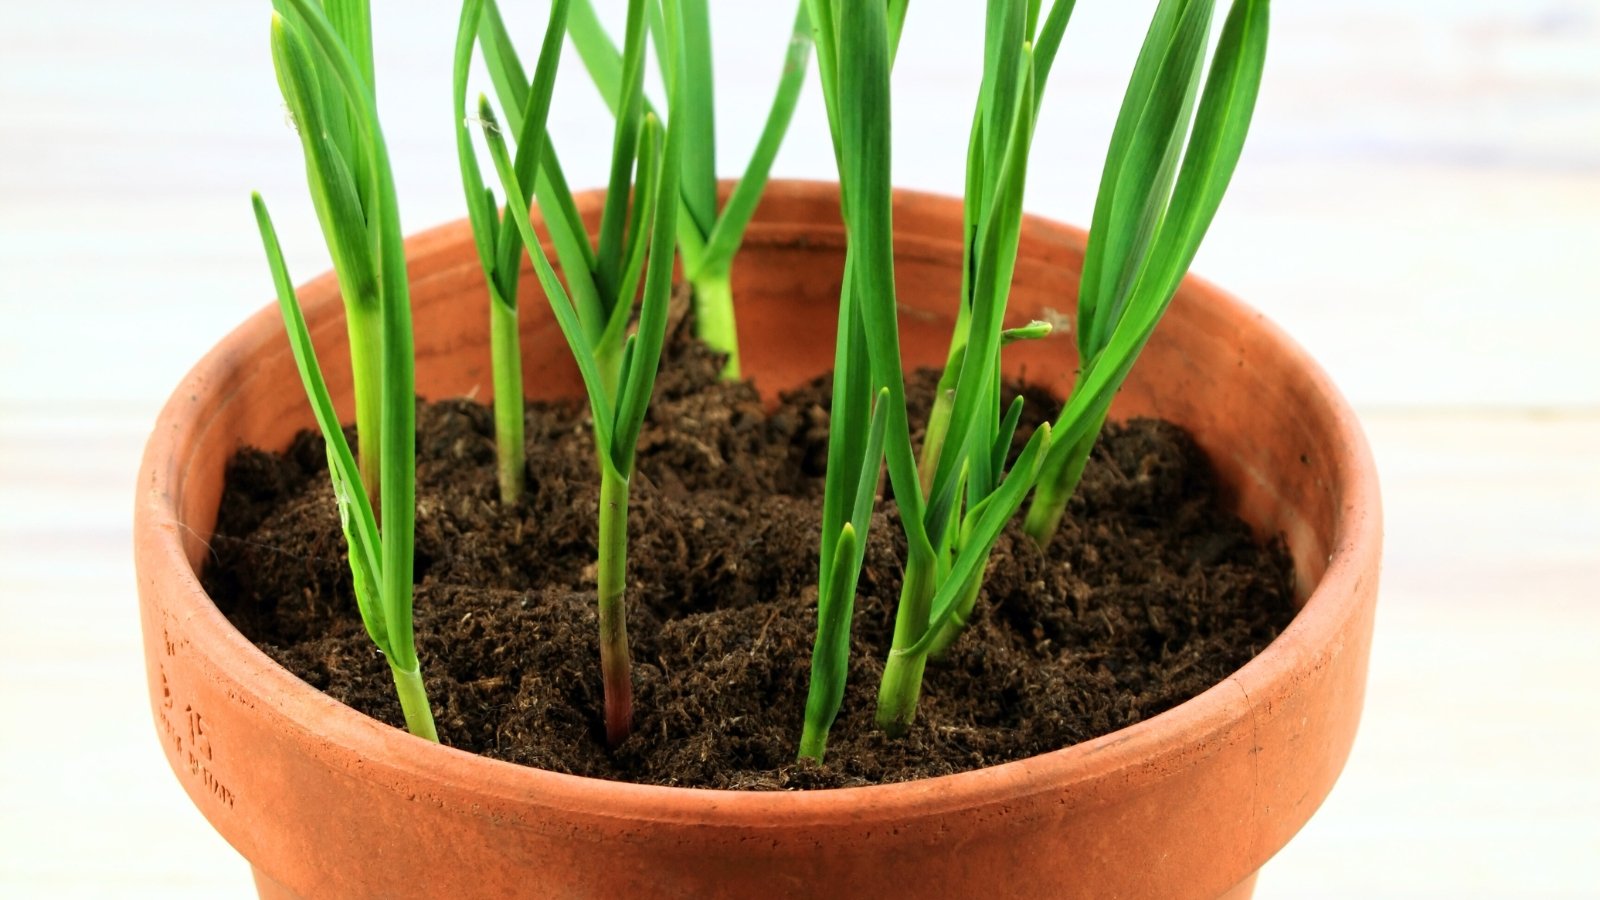
Step 5: Trim Leafy Development
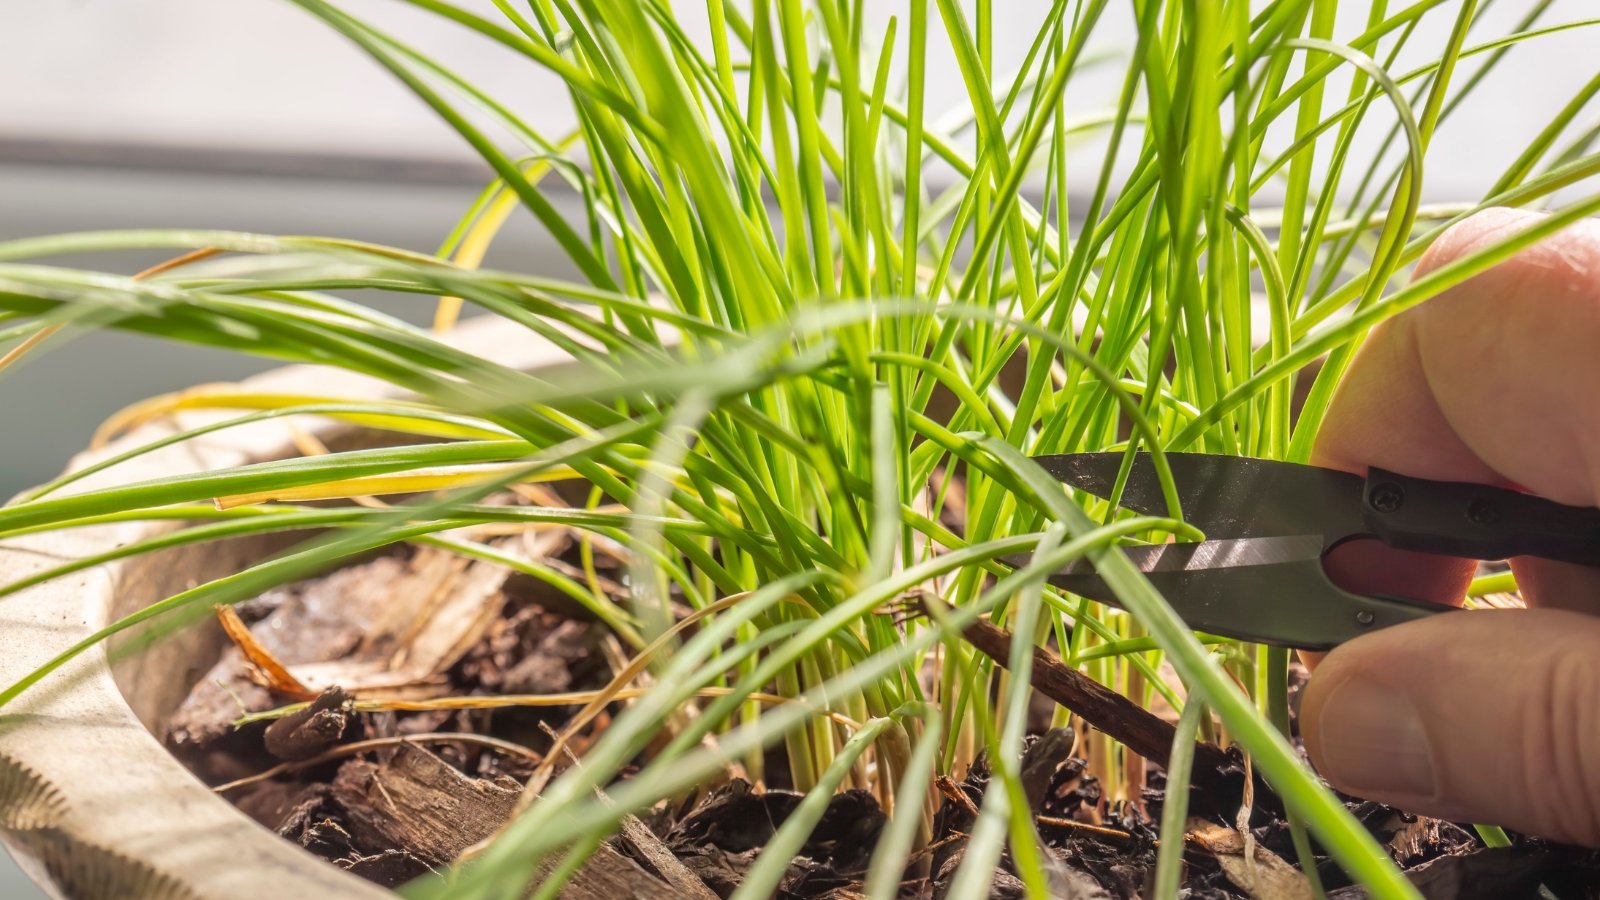
Right here comes the enjoyable half! Sit again and look forward to leafy garlic development to look. Because the leaves develop, you might snip them at their base to make use of in recent or cooked meals.
For greatest outcomes, let the sprouts develop earlier than snipping them. Make sure you depart every plant with a leaf or two so it will possibly photosynthesize, and trim the decrease leaves first.
If leaves don’t seem, the bulbs could also be affected by illnesses or cultivation points. Take away a clove from its pot to examine it. If it’s wholesome, replant it and wait. If it’s mushy, take away the cloves and plant one other spherical of garlic in clear pots with recent soil.
What to Do After
Garlic gained’t develop perpetually indoors. It’ll want replanting, otherwise you’ll should exchange the cloves with new ones. In the event you dislike replanting and need a long-lasting perennial for indoor rising, plant garlic chives as a substitute of bulbs.
Plant Garlic Open air

As soon as the leaves die again, you’ve two choices. Save the small cloves for planting outside within the fall, or throw them within the compost and exchange them with new ones indoors.
In the event you select to plant them outside, wait till the optimum planting time to your area. In frost-free climates, refrigerate them for 3 to 4 months earlier than planting them in the course of the coolest months of the yr.
Most growers ought to plant cloves outside between October and November. The crops will develop roots earlier than winter arrives, and so they’ll poke above the soil with leafy development within the spring.
Change Cloves
If you wish to proceed to develop garlic indoors, merely take away the previous cloves and exchange them with new ones. It’s possible you’ll use the identical soil if there weren’t any points with illnesses or pests. All you’ll have to do is add fertilizer to interchange the used-up vitamins.
Use a well-balanced fertilizer and water it in effectively whereas the crops are actively rising. Keep away from splashing the leaves, and wash them off if any fertilizer lands on them.
Proceed fertilizing the crops whereas they sprout new development. Accomplish that as soon as a month, and observe the fertilizer’s directions for correct dosing.
Key Takeaways
Incessantly Requested Questions
Sure, you may! Observe the directions above, and accomplish that at any time of the yr.
Stick toothpicks barely in every clove, however don’t stick them right through. Then, droop the cloves over jars of water utilizing the toothpicks. They’ll sprout roots in just a few days, and leaves will emerge just a few days after the roots seem.
Sure, you may! Use pots, trays, or no matter containers you may get your fingers on.