
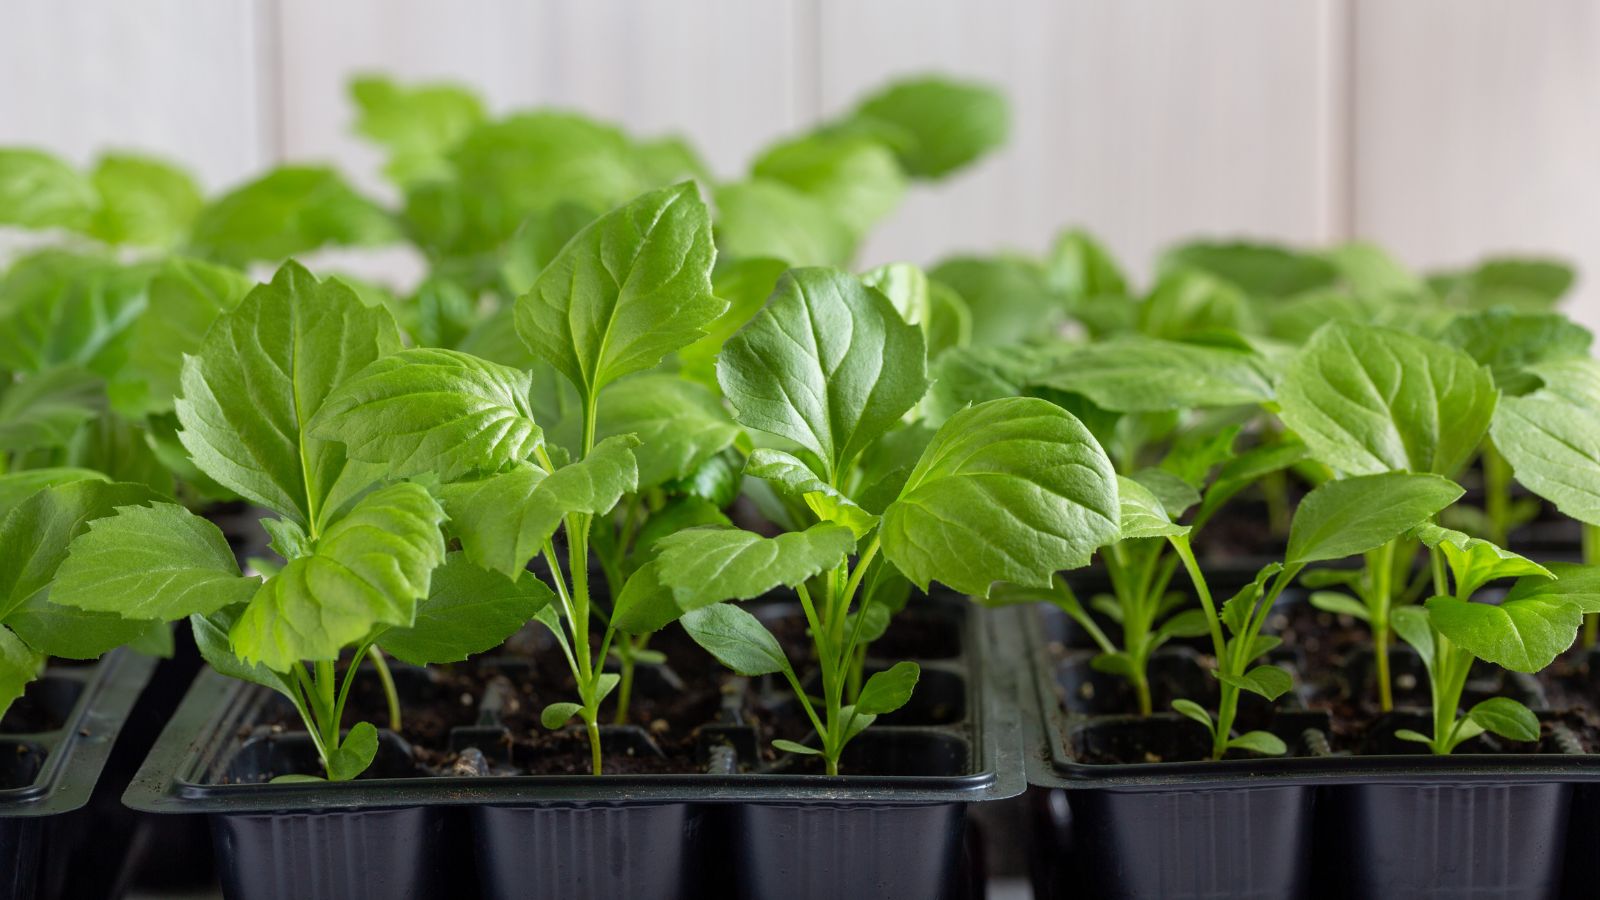
Asters are available in all sizes and styles! Perennial American asters supply dozens of species to select from; they’re native to the U.S., and so they thrive with out a lot care. Many are frost-hardy and develop effectively from New York to Oregon.
There are additionally annual asters, like China asters. These heirloom favorites die on the finish of the rising season, and also you’ll must sow their seeds in spring for those who’d like them in the summertime backyard. You may’t divide them—you’ll be able to solely divide perennial asters that sprout anew every spring.
Many crops go by the widespread identify of aster, although botanists have break up up the genus into many new ones. Don’t fear! This information works for all perennial aster species, no matter their scientific identify. Use it to information you thru dividing and replanting your asters for a backyard filled with blooms.
Why Divide Asters?
There’s a couple of motive to divide asters. Perhaps you need extra crops, otherwise you’d prefer to rejuvenate an outdated backyard. Take an in depth take a look at your crops and be aware their situations. After learning them, you’ll know whether or not or to not divide and replant them.
Propagate New Vegetation
The principle motive for division is to realize new crops! You may flip a single clump into many new ones. As an alternative of shopping for seeds or potted crops on the retailer, you’ll convert your wholesome asters into many new crops.
Although free crops sound thrilling, it’s greatest to attend to divide them till the clumps are of an excellent measurement. Dividing is a traumatic course of for aster varieties, and so they want a sturdy root system to outlive the stress.
Bear in mind, you’ll be able to solely divide perennials! Annuals die on the finish of the rising season, and dividing them received’t propagate new crops such as you’d hope. To propagate annuals like China asters within the genus Callistephus, you’ll want to avoid wasting seeds or take cuttings.
Rejuvenate Previous Specimens

Division doesn’t simply offer you new crops—it additionally revives outdated asters! Because the clumps develop wider and thicker, they fill the realm with useless leaves, elaborate root techniques, and contemporary development. This natural matter collects and crowds out your asters, which might result in poor development sooner or later.
As an alternative of letting the crops undergo, merely divide them once they outgrow their house. A fast refresh will assist them flourish for years to come back.
Forestall Unfold

The ultimate motive for division is to restrict your crops’ unfold. They’ll develop wider and denser yearly as long as they’ve entry to solar, water, and vitamins. Perhaps they’re creeping in in your dahlias, or they’re snuffing out your annual seedlings.
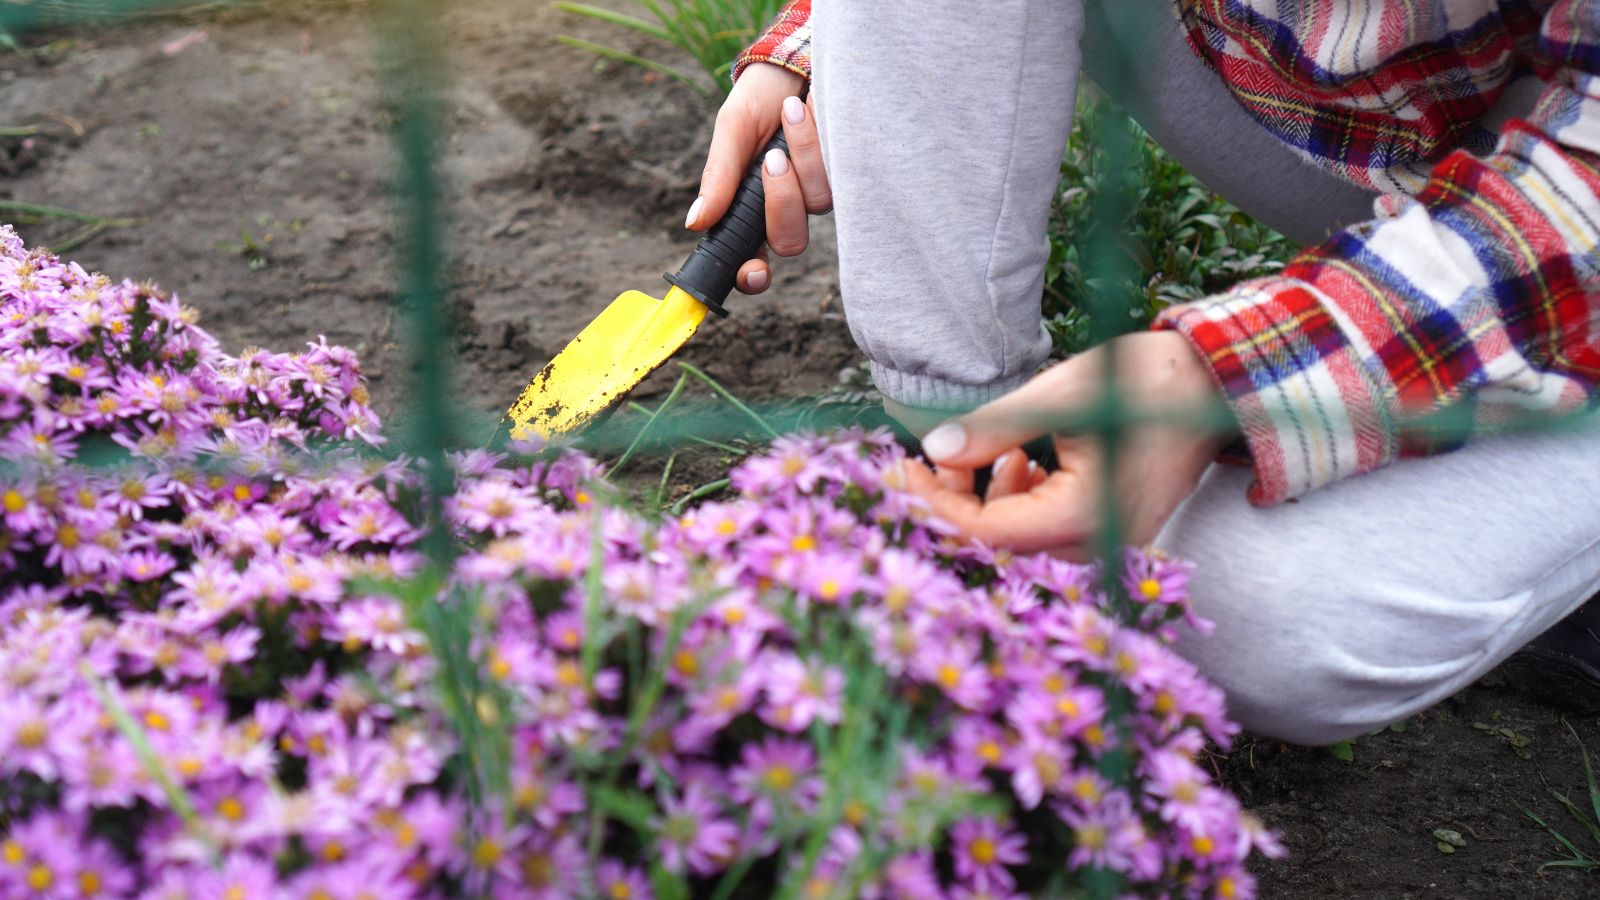
As an alternative of dividing your aster varieties to restrict their unfold, you may additionally slice their outer areas with a spade. Utilizing the sharp spade, dig down across the perimeter of the aster plant. Take away the minimize stems, and put contemporary potting soil or compost of their place.
When to Divide Asters
When to divide asters depends upon how huge or small they’re, in addition to the present season. Do that course of each few years throughout the suitable season, and also you’ll create an limitless provide of aster crops to fill your backyard with.
Signs to Watch For

Vegetation can’t discuss, however they use their habits to converse with us! They’ll lose leaves, develop new stems, or droop in response to exterior components. When perusing your asters, look ahead to these signs as indicators of division:
These aren’t the one means for realizing when to divide. It’s possible you’ll break up up mature clumps as long as they’re giant sufficient to offer you a number of new crops.
The Greatest Season
As seasons change, so too do crops! They enter dormancy in response to chilly, or they start blooming as days lengthen and heat in spring. Asters aren’t any totally different. They reply to the altering seasons by rising roots, blooming, or dying again.
Fall and spring are nice seasons for division when the climate is cool, gentle, and reasonable. Keep away from dividing throughout summer season or winter, as you’ll doubtless kill the crops within the course of.
The very best season for division is spring, when the crops start rising roots in response to warming temperatures and elevated daylight. If it’s summer season or fall, you might wish to wait till the following spring to divide asters.
Division Frequency
How typically you break up up these perennials is one other essential consideration. They’re not indestructible! They want a while to develop and flourish earlier than they’re prepared for the division course of.
It’s good to divide asters each three to 5 years when the clumps develop giant and dense. Keep away from splitting them extra typically than as soon as each three years. The perennials develop wholesome roots and shoots within the off years, and so they want this time to ascertain themselves after planting.
Find out how to Divide Asters
So, let’s get to it! Dividing asters is a simple course of with the suitable supplies and tips. Seize a shovel and prepare to dig.
Put together

The day earlier than you wish to divide, check out the location. Make sure the aster specimens are well-watered with moist, smooth, and crumbly soil. Delicate, moist soil is essential for a easy dividing course of. If the bottom is tough and compact, you’ll have hassle digging up the roots.
Pure rainfall might hold the bottom moist, however you’ll wish to add water if the grime is dry. Soak the location the night time earlier than you wish to divide. Go away a hose on a low trickle for an hour, or run a sprinkler for a similar period of time.
Now’s an excellent time to take away useless leaves, stems, and seed heads. Snipping off useless fluff will provide you with a transparent view of your aster the following day. Set your instruments close by so that you’re prepared. You’ll want a shovel or trowel, a pointy knife, and potting soil or compost.
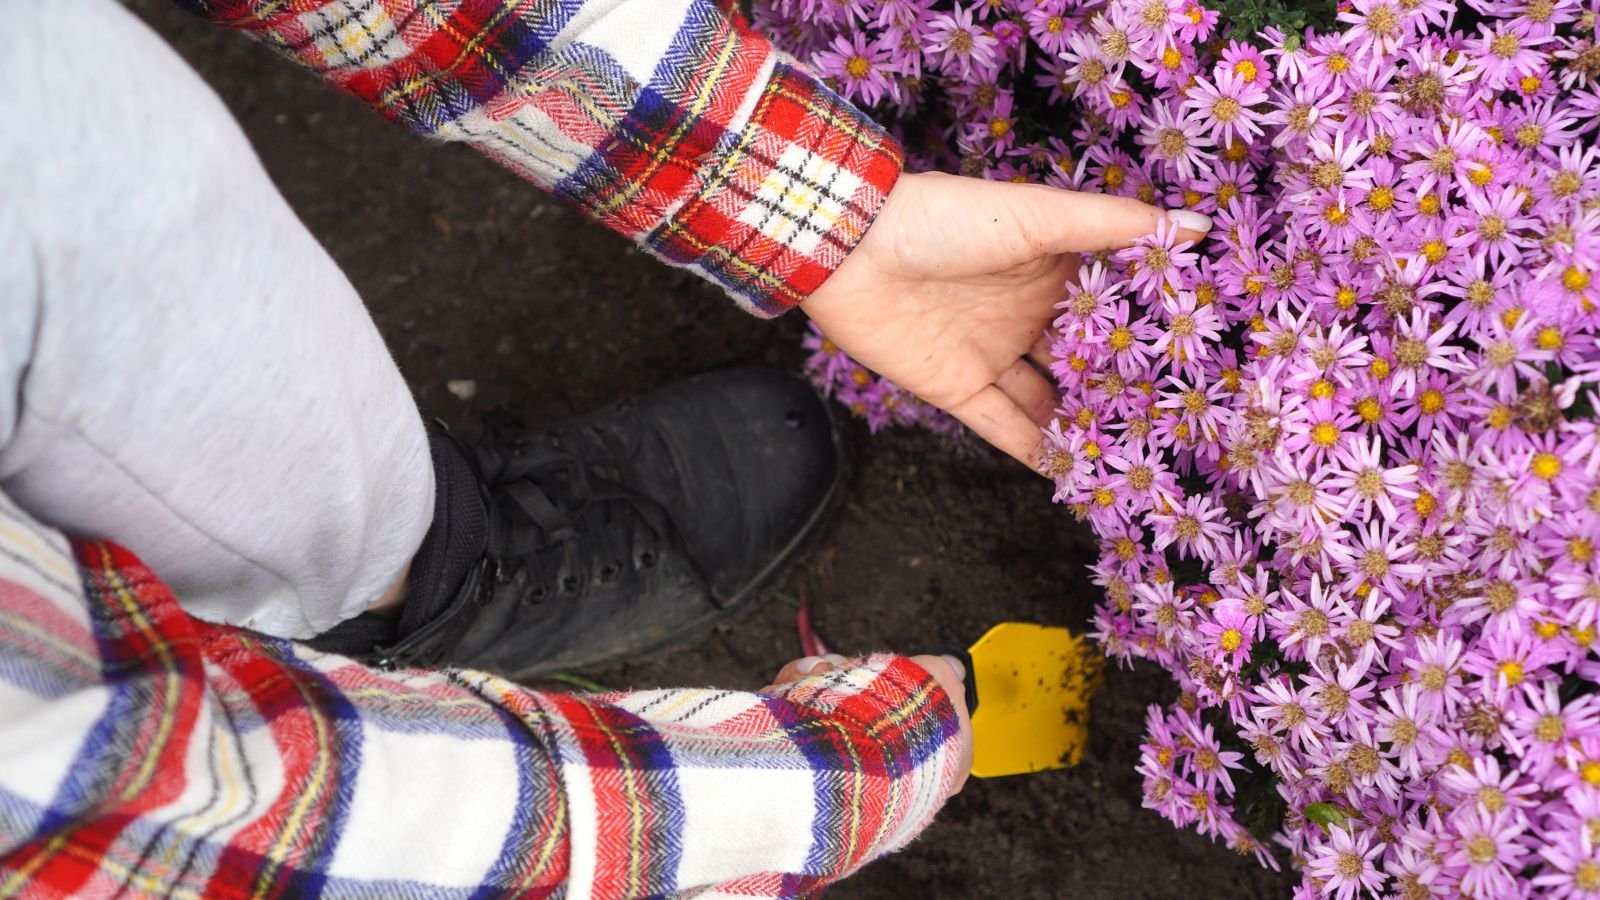
Dig Up the Clump
The next day, within the morning or afternoon, collect your provides and put together for digging. You’ll wish to dig down a number of inches away from the stems to make sure you get as many roots as attainable. Make a circle across the plant. Then, dig beneath the roots a foot or deeper down.
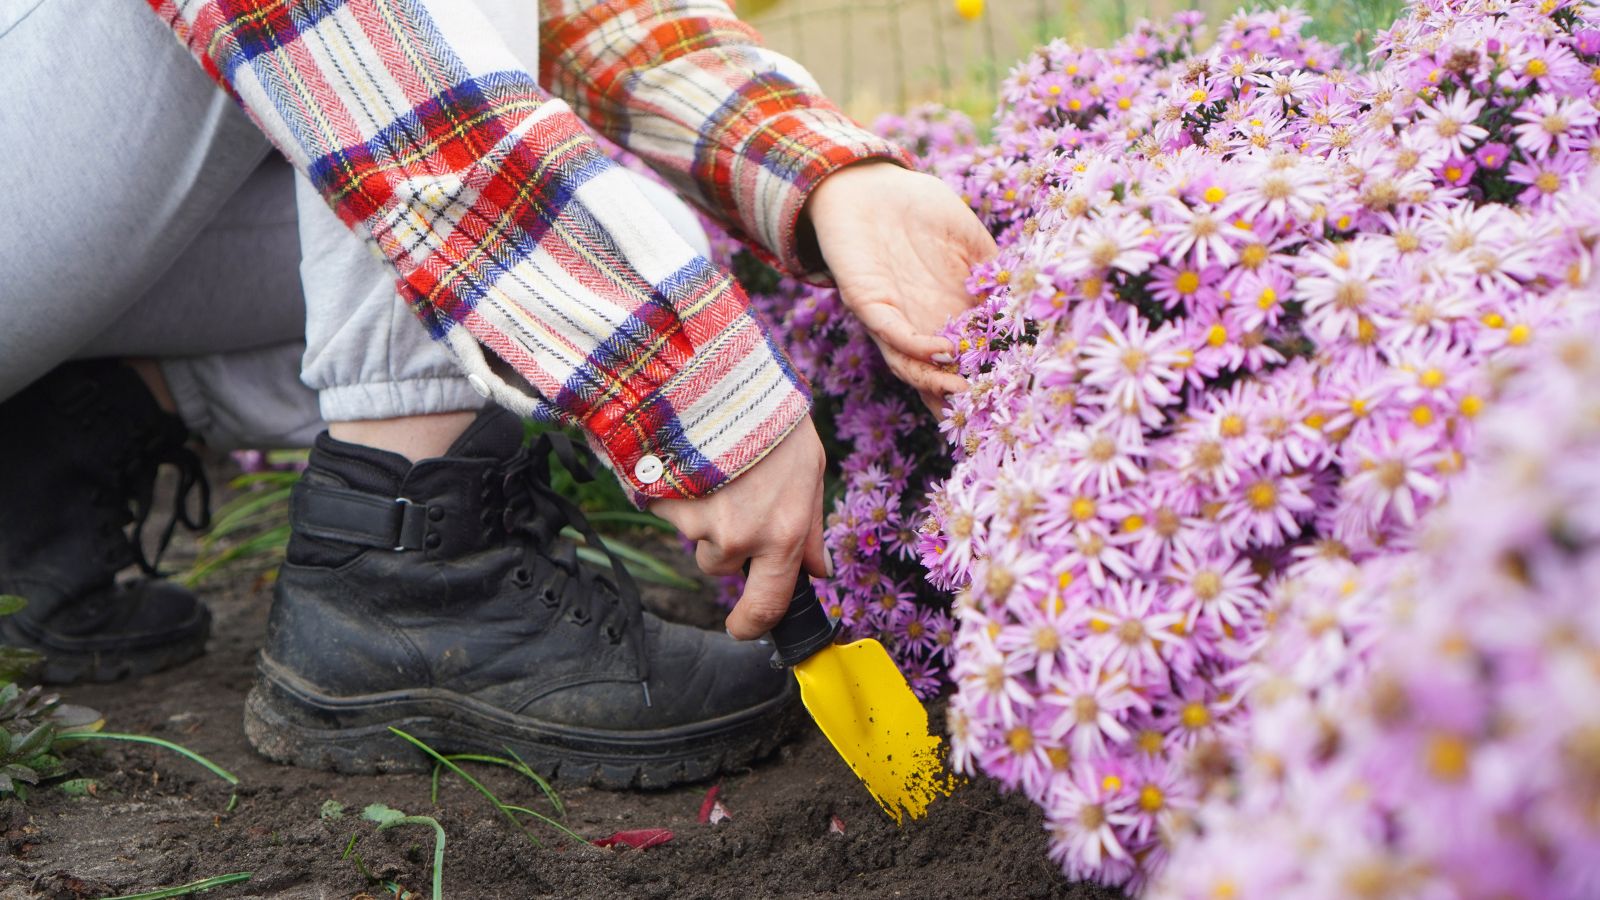
Along with your shovel beneath the aster roots, start heaving the plant out of the bottom. Save your again! Use your knees to elevate, and plop the aster on its facet above the bottom.
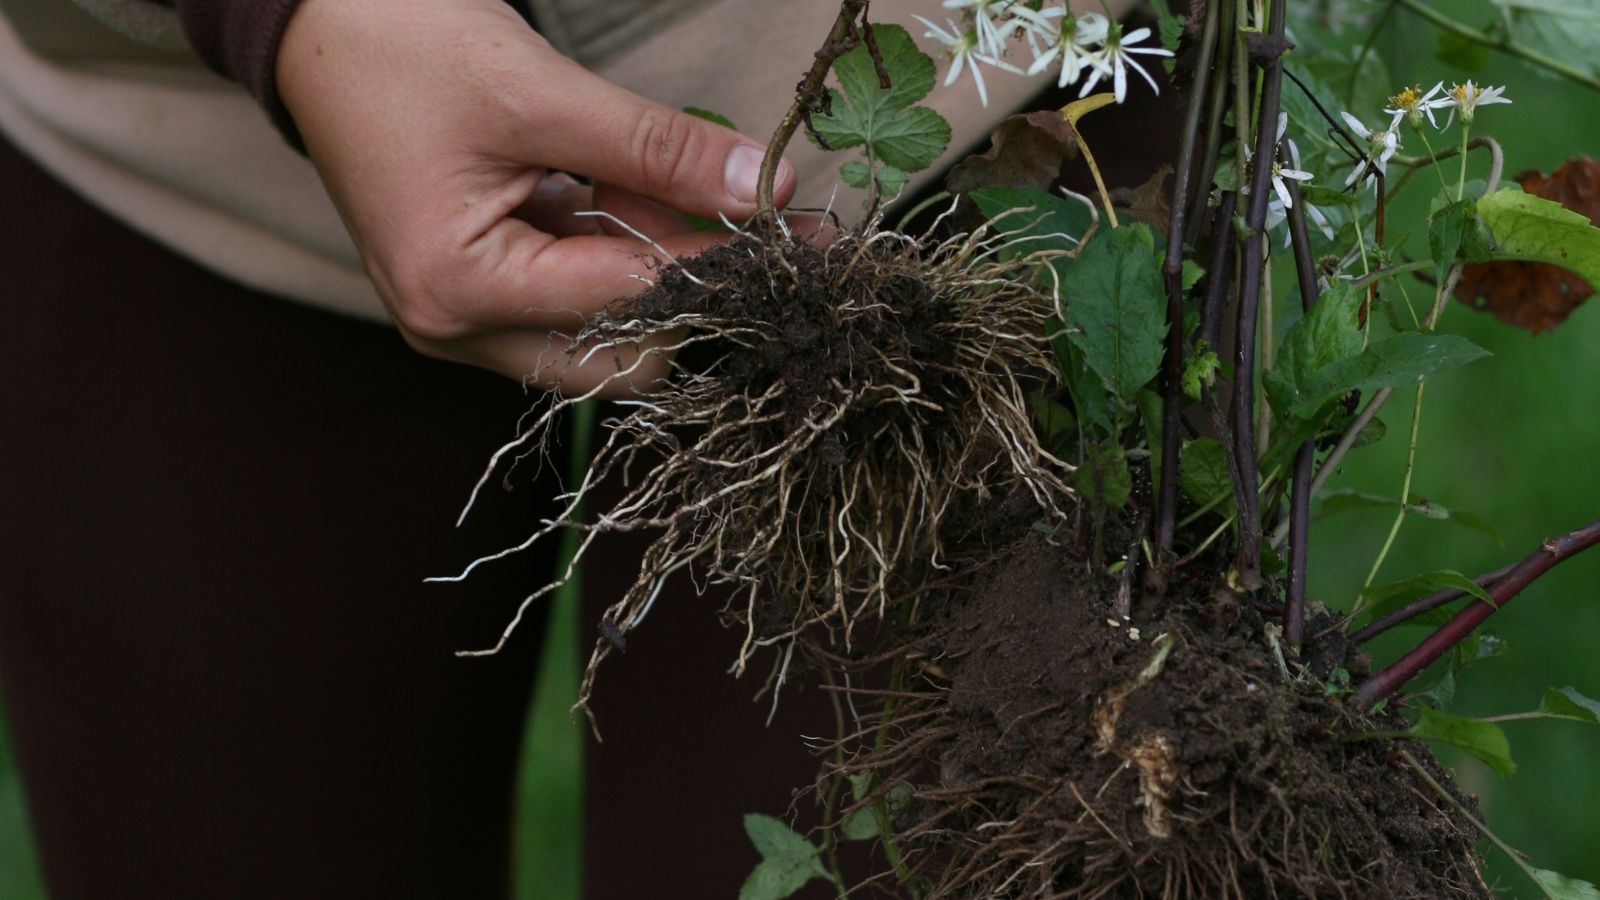
Shake a few of the grime off the plant to get a better take a look at the roots. You don’t must shake all of the soil off, nor do it’s good to rinse it away. Retaining some soil will assist the divisions rebound rapidly after replanting.
Divide the Clump
Right here’s the enjoyable half! Dividing your asters requires cautious consideration and precision. You don’t wish to take away too many roots, and also you wish to make sure the divisions have an excellent probability of surviving dissection and division.
Along with your sharp knife or pruners, noticed by the crops to separate them into two or extra new sections. Guarantee each bit has wholesome roots and shoots; small ones might not survive replanting. Set the divisions apart within the shade if it’s cool, or set them in a bucket of water if it’s sizzling and dry.
Put together Planting Holes

After you have your divisions, it’s time to put together new holes for planting. Some species develop in partial or dappled shade, whereas most varieties desire full solar. Select acceptable websites within the yard the place your perennials will thrive.
Dig holes for planting which might be twice as broad and as deep as your asters’ rootballs. If the bottom is tough, soak the soil first earlier than digging. Set the dug-out soil apart for burying the roots later.
Don’t combine potting soil or compost within the planting gap. This widespread apply might hurt the roots in the long term. Use the backyard’s native soil for planting as an alternative.
Plant New Divisions

Collect your aster divisions and set each in a planting gap. Cowl their roots with the backyard’s soil, and water the location effectively. If the grime sinks beneath floor stage, add some extra of it to make the outlet even with the encompassing space.
After planting, it’s a good suggestion to cowl the bottom with an natural mulch. Mulch decays over time, creating an ideal residence for tender roots and soil microbes. Compost is among the greatest mulches, although you may additionally use leaf mould, straw, or fallen leaves.
And that’s all there may be to it! Your new asters will want some care for 3 to 5 years, after which they’ll be prepared for one more spherical of dividing.