
Put these worms to work! By conserving them in a bin and feeding them meals scraps, you’ll assist the underground critters convert waste into humus, a worthwhile soil product. Humus is absorbent and nutritious; it holds water and vitamins for plant roots to entry.
This course of depends on worms, a house for the worms, and meals to feed them. You’ll arrange a worm species inside bins with bedding supplies and natural waste. Meals scraps, backyard clippings, and a few paper merchandise are good for giving them a very good house.
Whether or not you’re a routine composter or a newbie vermicomposting for the primary time, this information will lead you thru the mandatory steps to make sure you can vermicompost with ease. Get some worms, feed them, and harvest their poop—however perhaps put some gloves on first!
What’s Vermicomposting?
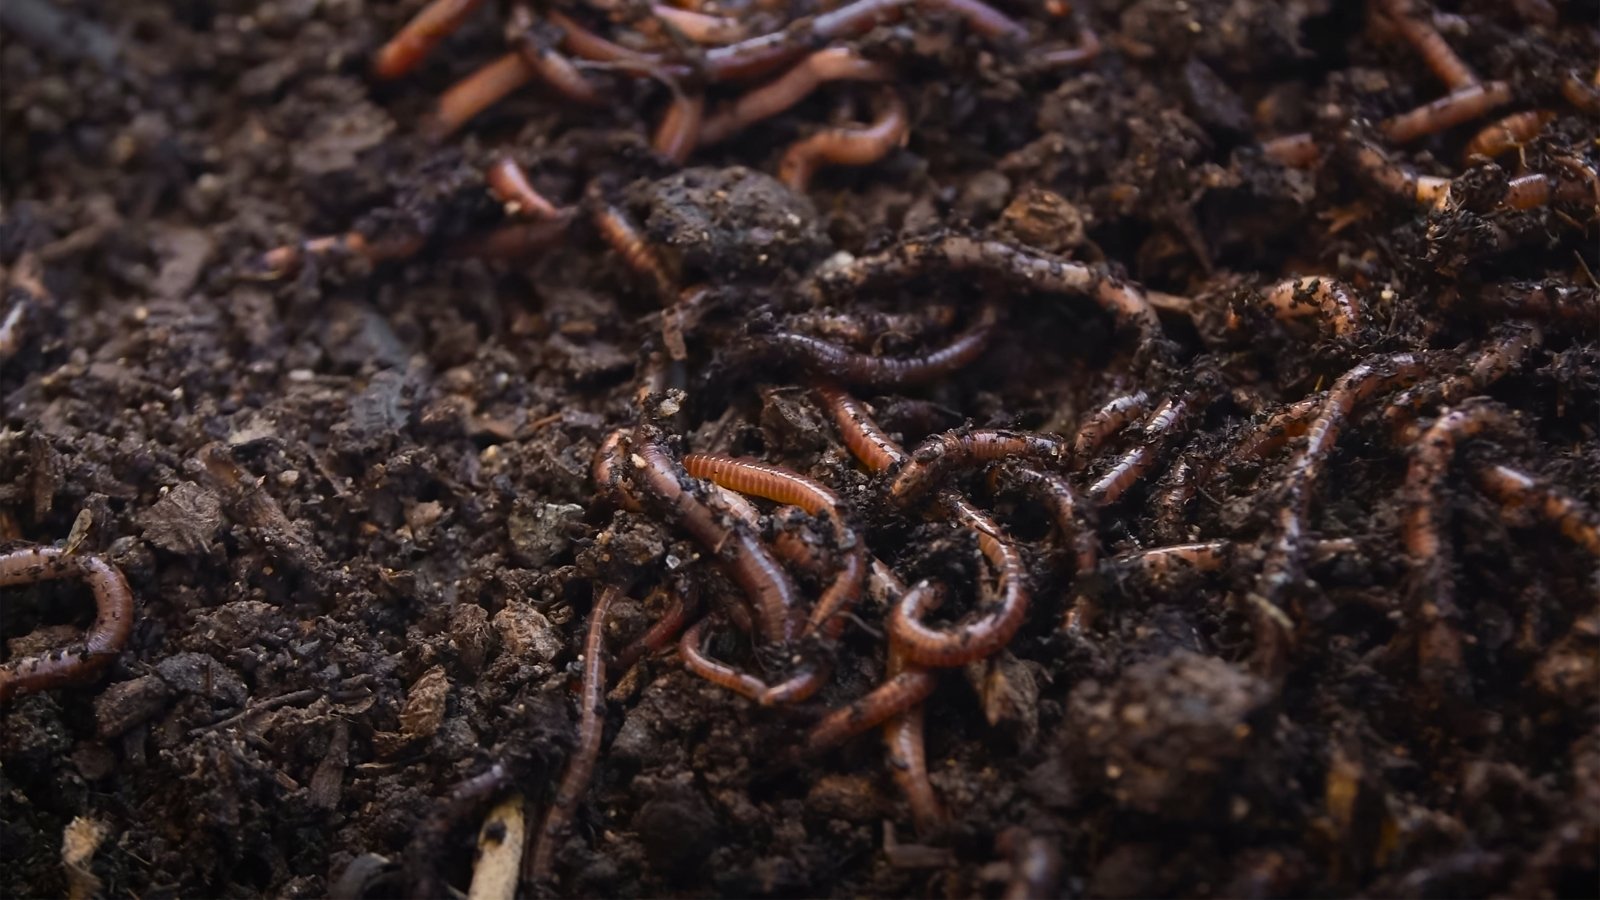
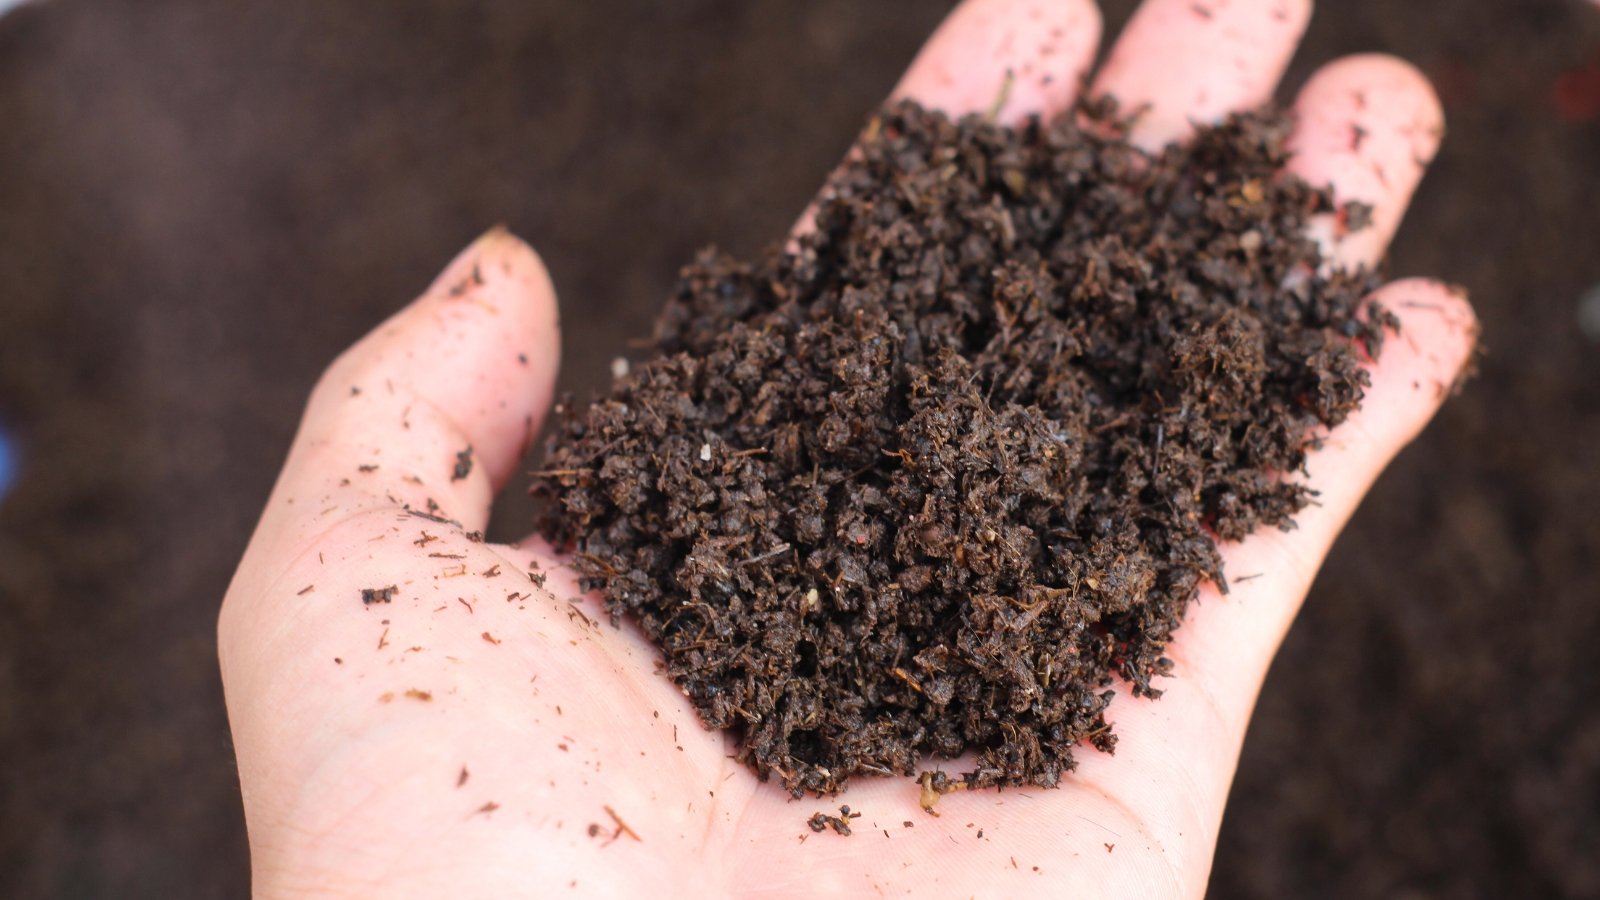
Vermicomposting (or worm composting) is a composting technique the place worms, normally pink wiggler worms, eat natural waste and convert it into castings. Castings are worm poop particles! They’re fertile, absorbent, and water-retentive.
The Magic of Worm Composting

Newbie vermicomposting is a magical follow. It harnesses worms’ pure habits to our profit. It’s a helpful follow, and it doesn’t harm the worms. It’s like having a pet! You’ll feed, are likely to, and water your worm bin to maintain it wholesome and full of those glad critters.
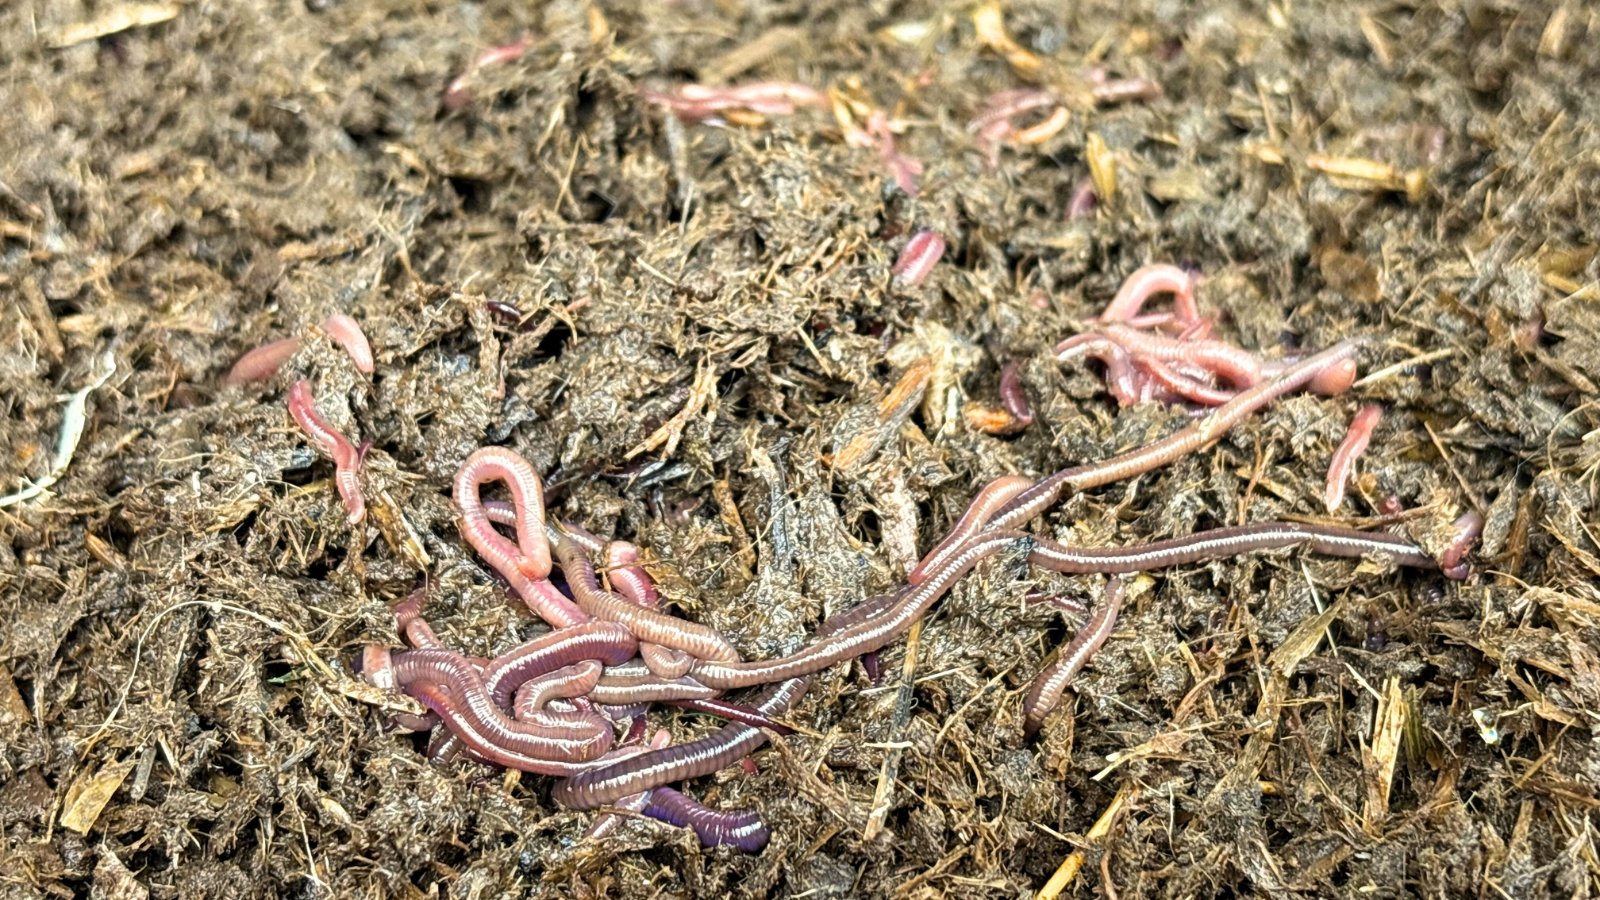
This magical course of depends on widespread pink wiggler worms. Their scientific identify is Eisenia fetidai. They’re helpful in vermicomposting, particularly for learners, as they desire residing in rotting natural matter. They’re additionally able to changing massive quantities of scraps which might be widespread in large households.
Why Use Worms?
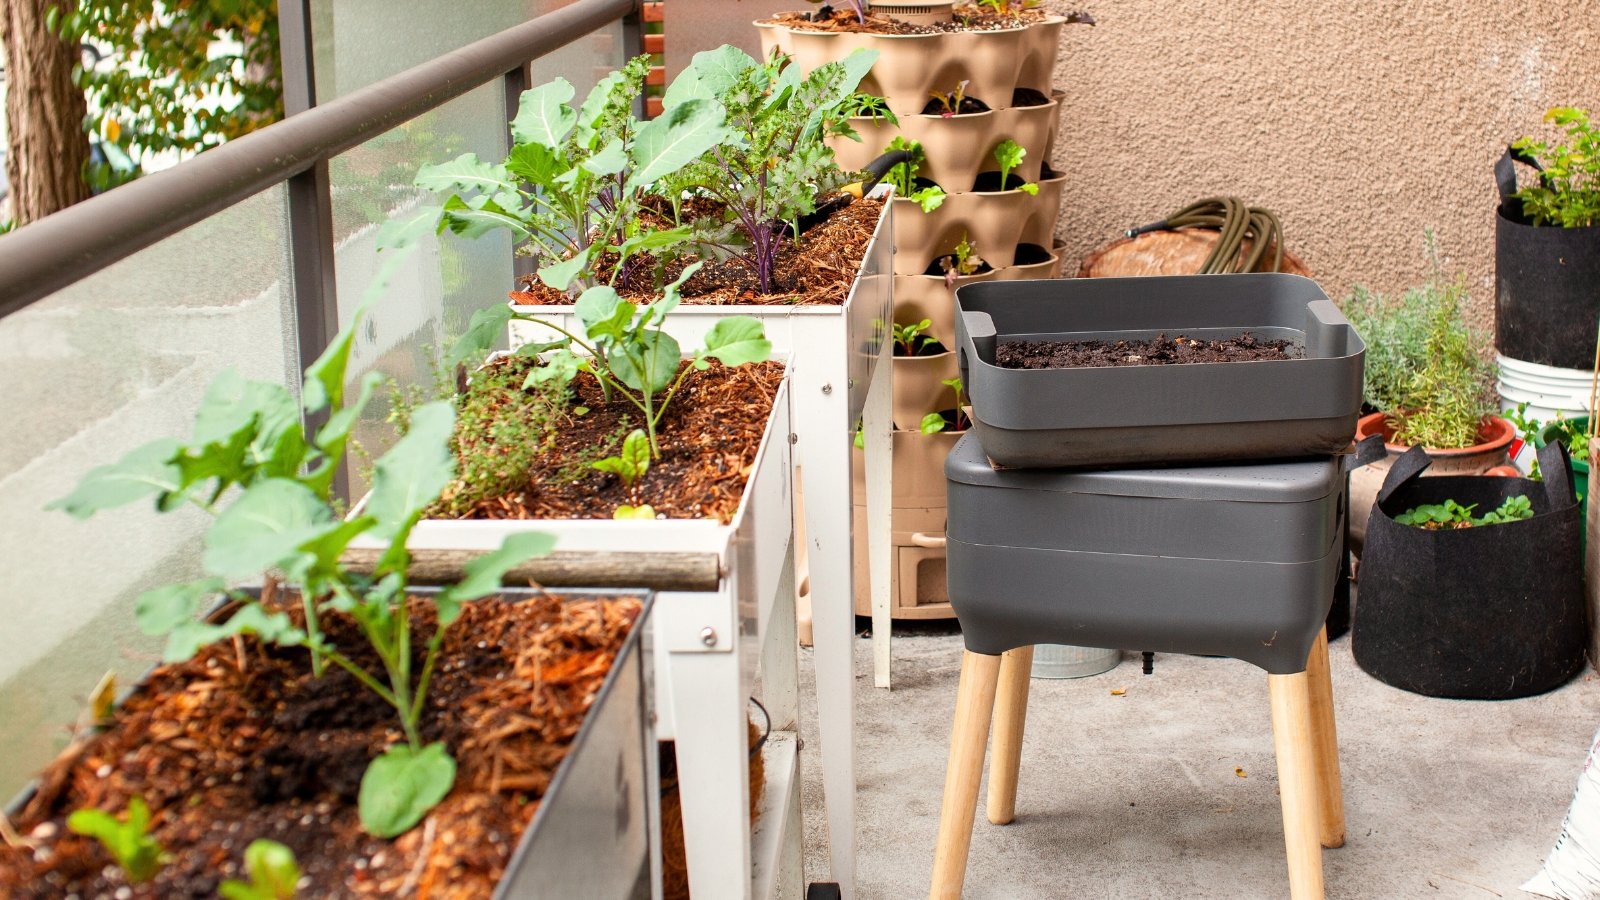
Nicely-tended vermicomposting bins are odorless, noiseless, and sufficiently small to suit wherever in your house. They don’t require massive quantities of area in your yard like composting piles, and so they work indoors or open air at temperatures between 55-77°F (13-25°C).
Vermicomposting is beneficial as a standalone composting technique or together with different composting programs. It’s particularly helpful when you have massive quantities of meals scraps and backyard clippings. As an alternative of ready for composting programs to work, you may make use of a vermicompost bin or two in your kitchen pantry or an empty closet.
In case you’re nonetheless on the fence about vermicomposting as a newbie, don’t fear! It’s not a everlasting technique. You’ll be able to attempt it as soon as and use the castings in your backyard, or you may redo it each six months for a continuous waste processing system.
Vermicomposting for Learners
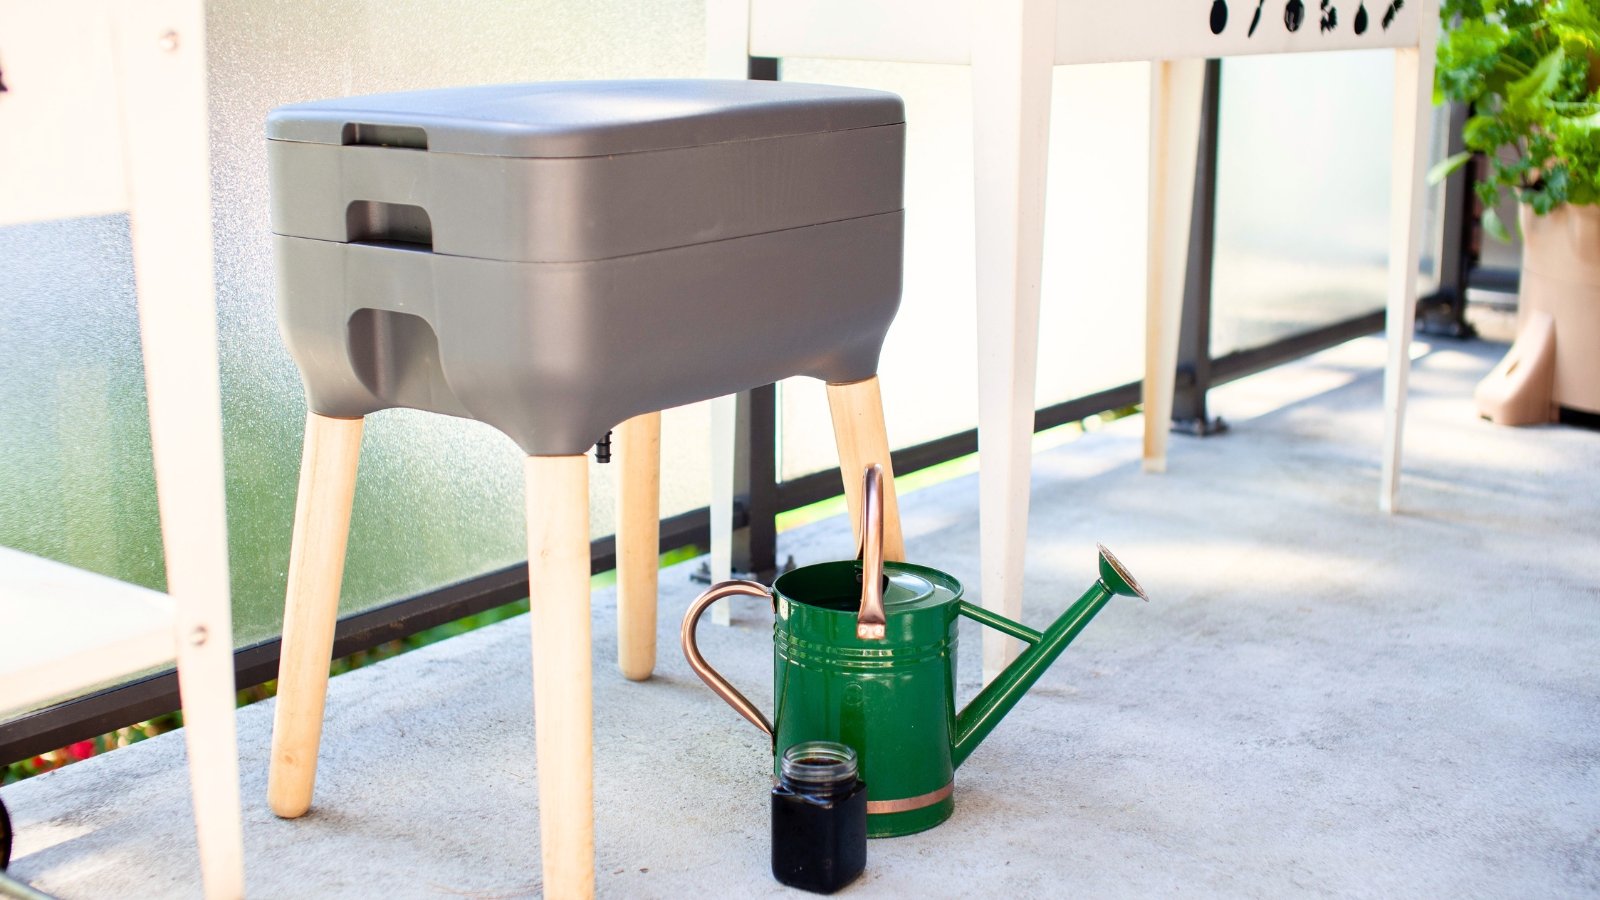
For newbie vermicomposting, you’ll begin by gathering the correct supplies and setting them up. Gather your worms, their bedding supplies, and your meals scraps, and set them apart. You should buy a stackable bin on-line, or you may arrange your individual with two empty totes.
Collect Supplies
Earlier than you start vermicomposting, you’ll want some supplies to make this a simple course of. You’ll want a worm bin, bedding materials, worms, and meals to feed them. Begin by deciding on a worm bin, then determine which worms and scraps to fill the bin with.
Stackable bins can be found on-line and at backyard facilities and plant nurseries. Buy considered one of these, or arrange a DIY bin at house. Collect two empty tote bins and their lids, then set them apart to organize later.
Make sure the bins are darkish and don’t let mild via, as pink wigglers desire darkish situations to thrive. You might also have a single wood bin as a substitute of plastic ones, although wooden tends to get heavy with scraps and worms inside.
For vermicomposting bedding, use a combination of dry supplies and grit to create a wholesome worm house. Prime and backside bedding layers present cushioning, air, and drainage. Worms additionally want grit, or onerous particles, to assist them digest meals. They lack tooth and as a substitute use grit of their inner organs to digest soil particles.
Use these dry supplies for bedding:
- Shredded newspaper
- Recycled printer paper (non-glossy)
- Dry, shredded leaves
- Straw
- Coco coir
- Sawdust (small quantities)
And, use these supplies for grit in low quantities:
- Blended eggshells
- Crushed oyster shell
- Calcium
- Backyard or potting soil
- Vermiculite
- Sand (small quantities)
Select Worms
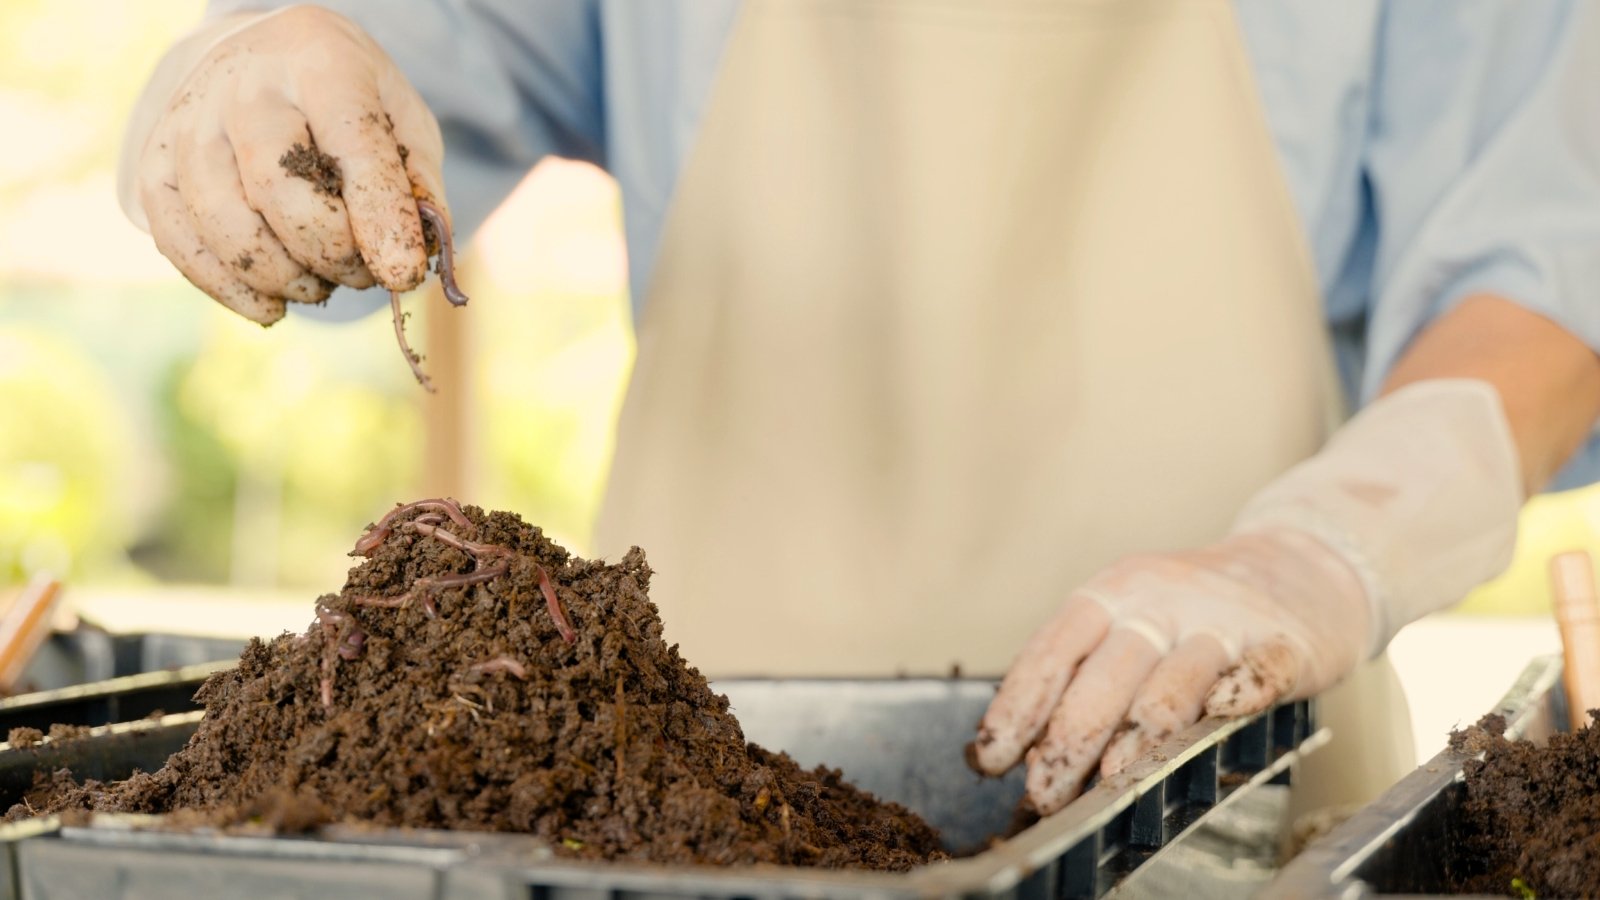
The very best worms for newbie vermicomposting are widespread pink wigglers. They thrive in rotting, decaying waste and like darkish, moist situations. In contrast to widespread earthworms, which aren’t appropriate for vermicomposting, pink wigglers can stay in bins ceaselessly, as long as they’ve meals to eat, moisture, and air to breathe.
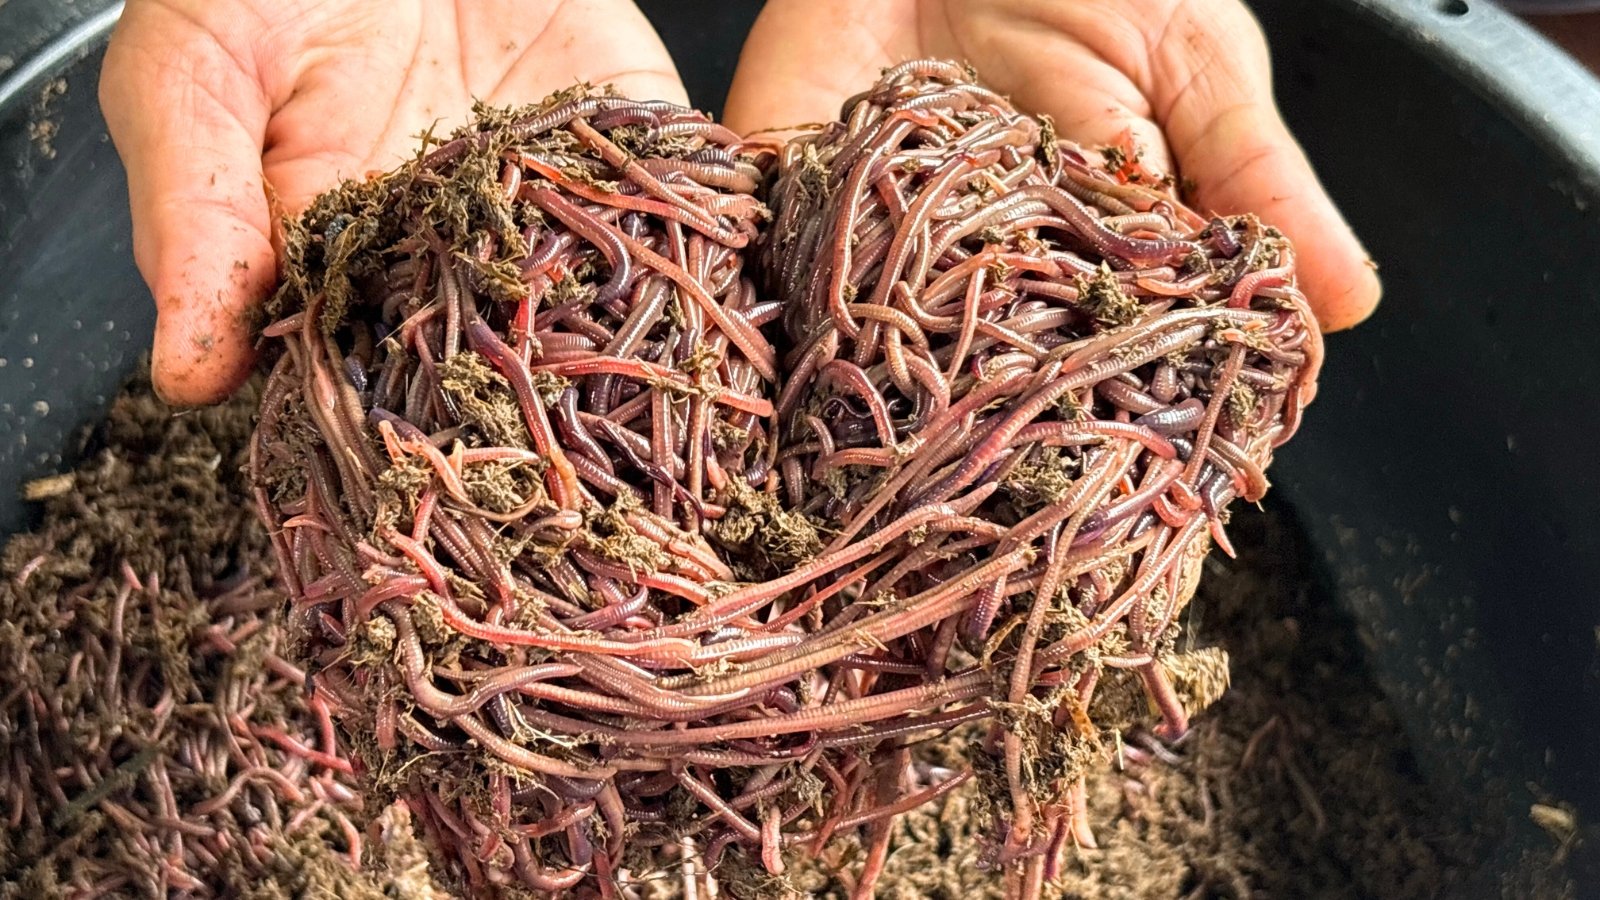
Discover worms out there on-line from respected sellers, or supply them your self out of your current composting piles. They have a tendency to congregate in compost. Guarantee you’ve got the widespread pink wiggler species and never some other; think about asking for assist from an area college extension workplace to establish the worms when you’re uncertain.
Pink wiggler worms are pinkish-red with rings and a easy center band, known as a clitellum. They reproduce quickly after they have adequate meals, air, and moisture. They’ll double and triple their inhabitants after just a few months in your bins! They’re good for newbie vermicomposting.
Setup Bins
Stackable bins come prepared to make use of, whereas DIY vermicomposting sorts want some work earlier than they’re prepared for worms. Learners to vermicomposting ought to attempt the two-tote system, because it’s simple to arrange and use. Collect your two totes from earlier, and put together to drill holes in them for air flow.
Utilizing a sizzling rod or a drill, pierce two dozen quarter-inch holes on the underside of one of many totes. These will enable for extra moisture to empty into the opposite tote, which you’ll be able to then acquire and use as fertilizer. Drill one other dozen holes on the higher portion of the tote’s partitions, and some on the lid.
To stack two totes, you’ll want spacers to forestall them from sticking to one another. Use onerous spacers that received’t collapse underneath the load of the scraps and worms. Place two spacers, one on all sides, of the primary tote, then place the second tote with drilled holes on high of the spacers. The worms, bedding, and scraps go inside the highest tote with air flow.
Begin the vermicomposting course of by filling the empty bin with 4 to 6 inches of bedding, then add the pink wrigglers and meals scraps on high. Cowl them with one other two-inch layer of bedding, and guarantee it stays at two inches all through the vermicomposting course of.
Irrespective of your setup, drainage is important in a wholesome worm composting system! Guarantee your bins have a backside layer to gather the surplus soiled moisture, known as leachate.

Feed Worms
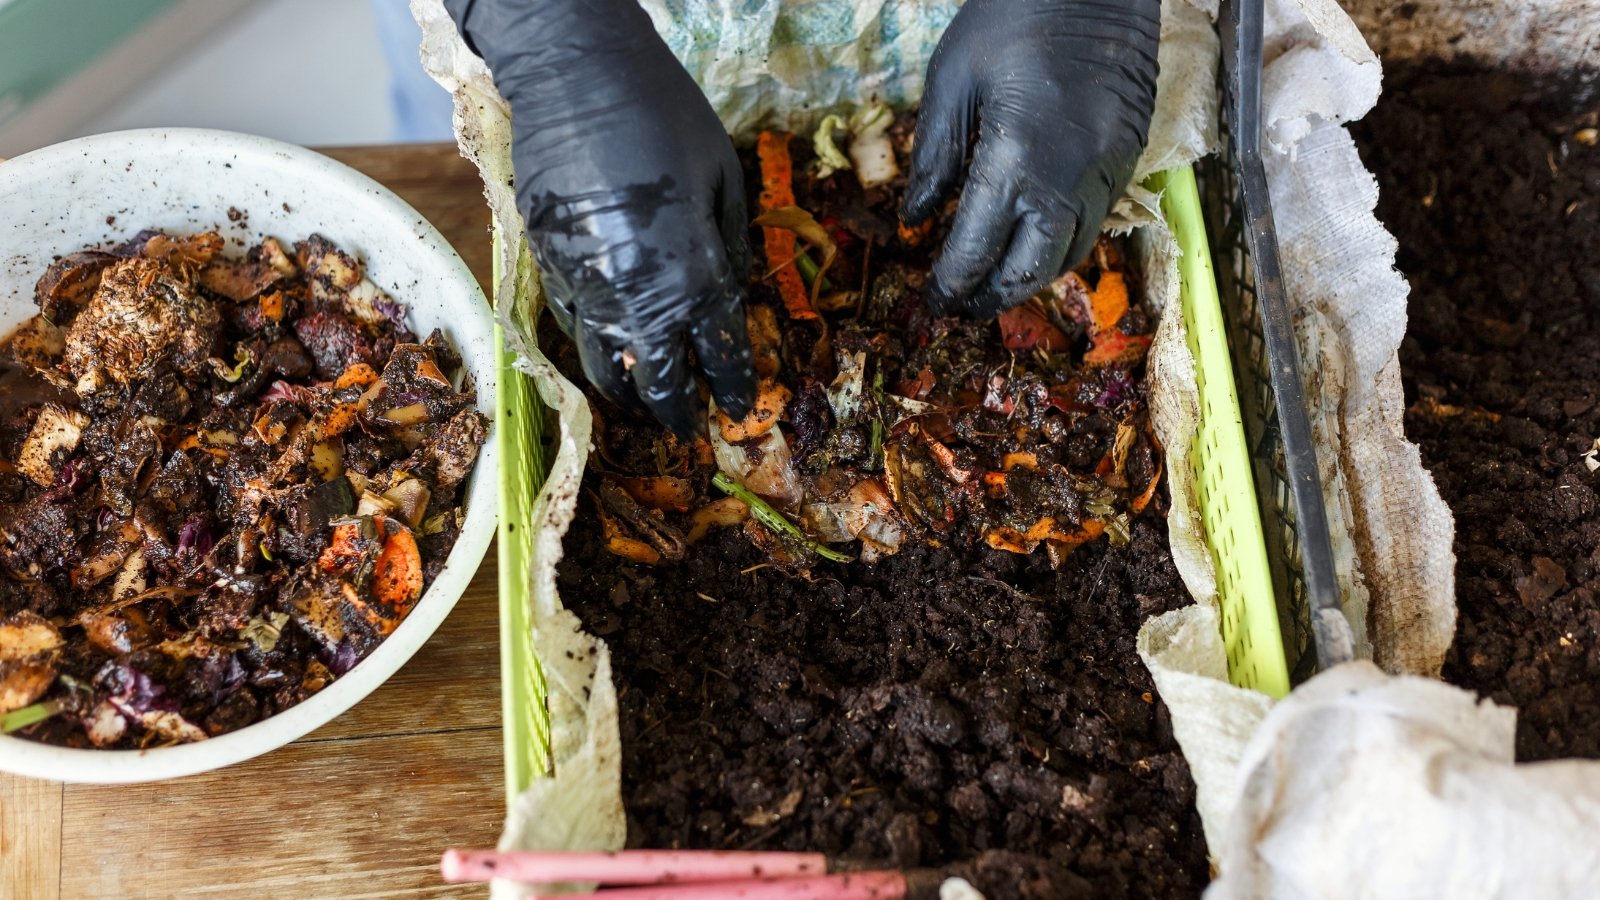
Worms aren’t choosy! They’ll eat most decaying natural matter, with some limitations. Don’t fear when you’re a newbie vermicomposting for the primary time. This listing has meals ideally suited for feeding pink wiggler worms:
- Fruit and veggie scraps
- Floor up eggshells
- Espresso grounds
- Pure fibers (cotton, wool)
- Paper
- Stale pasta, cereal, and bread
This consists of most meals scraps, although it doesn’t embody all of them. You might also buy worm meals for feeding. Keep away from including dairy, oils, meat, onions, and potato peels. Pet poop can also be not a good suggestion so as to add to vermicompost.
There are a lot of methods in which you’ll be able to feed your wormy associates. Pull apart some bedding and bury the scraps in pockets for steady feeding. Use new pockets with every feeding.
Or, attempt including a brand new layer of scraps on high of the prevailing bedding, then add extra bedding on high. The pink wigglers will transfer upwards via the bins to search out the brand new scraps. In multi-bin vermicomposting programs, merely add scraps and bedding into the higher bins. The worms will transfer up, leaving castings behind so that you can harvest within the decrease bins.
Preserve Bins
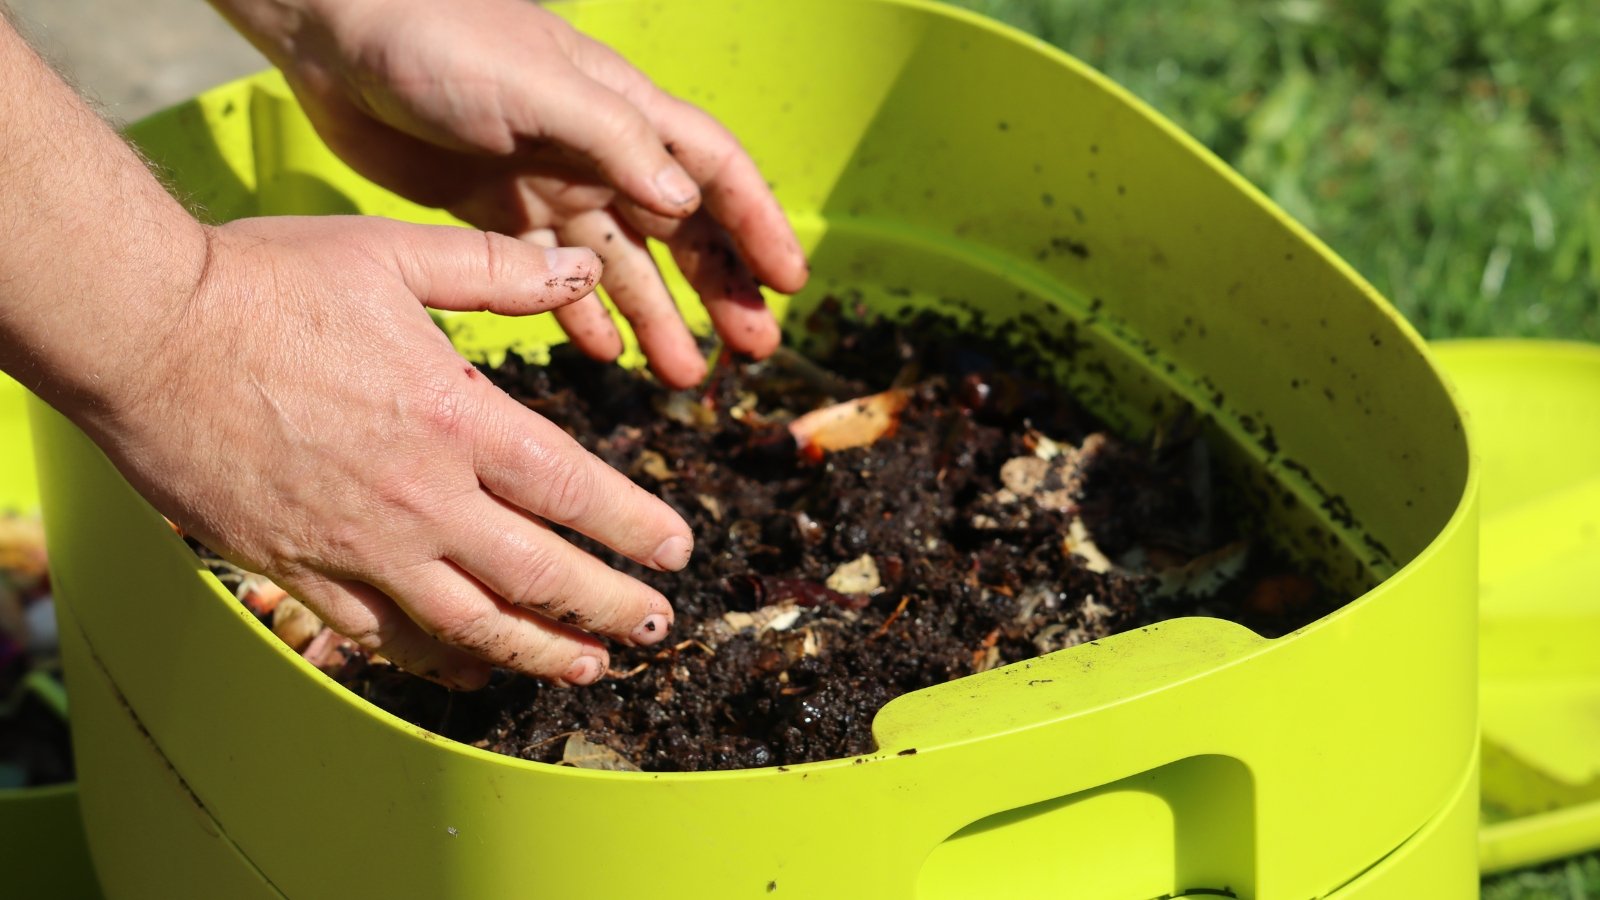
Moisture, air circulation, and meals are the three most essential components of vermicomposting. Vermicompost must be sufficiently moist and stuffed with air and vitamins.
Handle moisture with a sprig bottle and further bedding. If the pile is just too moist, add extra dry bedding and blend it in. If it’s too dry, moisten it with the spray bottle.
An earthy odor might waft from the vermicomposting bins, however there shouldn’t be any rotten or acrid smells. Verify them typically to make sure they keep correctly fed, moistened, and aerated. If the natural matter compacts, attempt fluffing up the combination and including extra bedding all through.
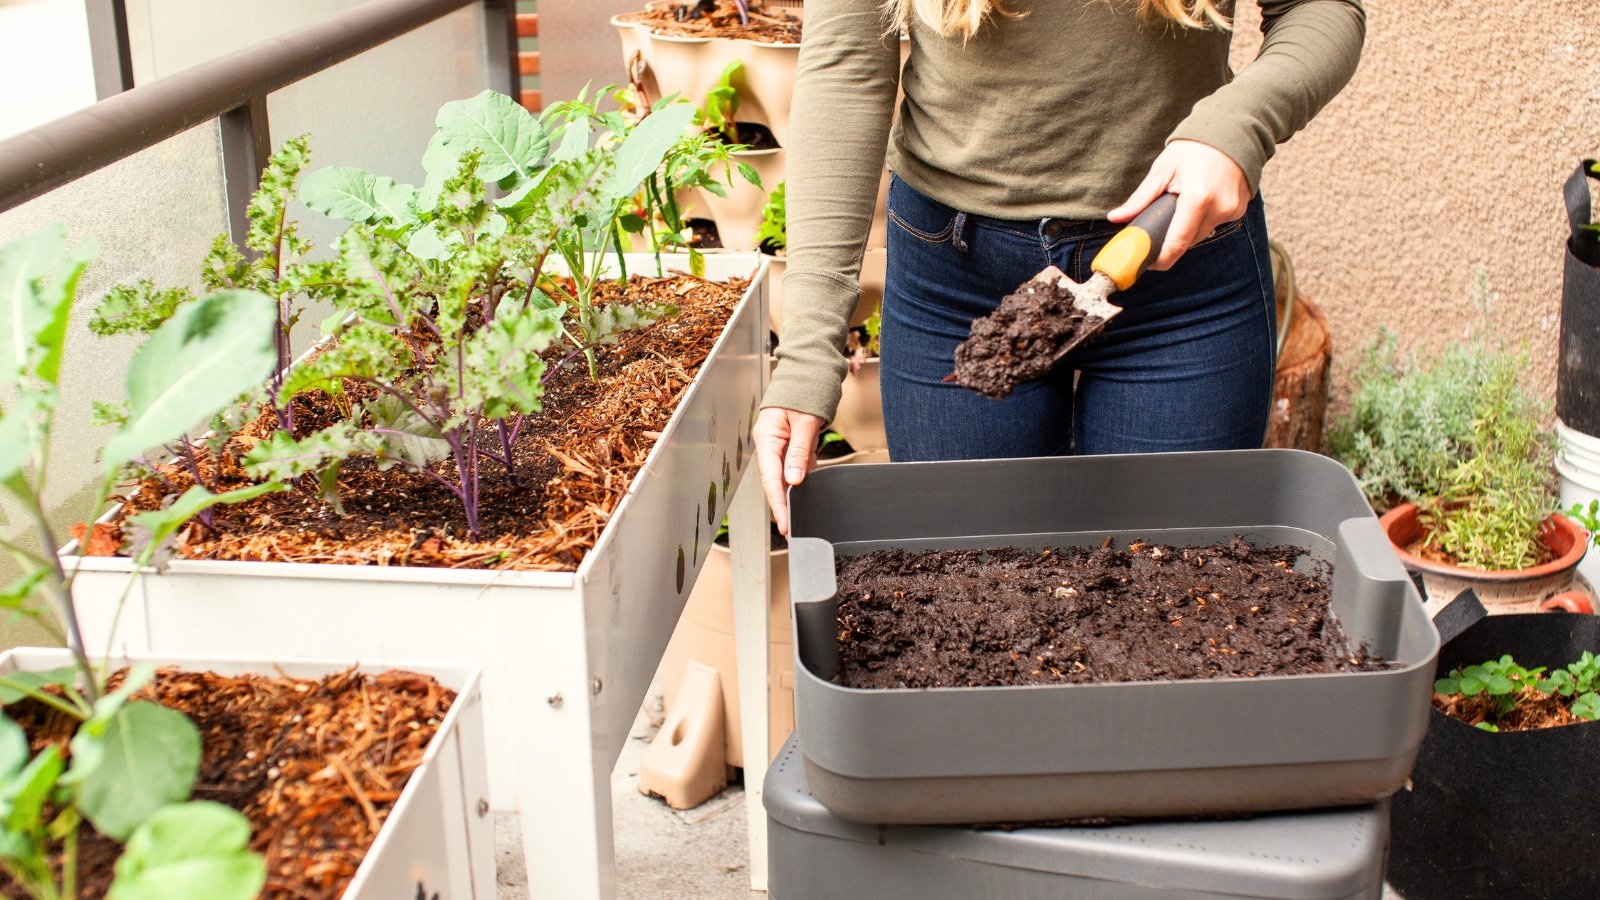
Harvest Castings
Methods to harvest the worm castings is dependent upon what kind of vermicomposting system you’ve got. They’ll be prepared wherever from three to 6 months. Two-tote programs require you to dump out and separate the worms from the castings. Stacked bin programs, nevertheless, are simpler to reap.
Harvest stackable programs by dumping out their decrease bins with completed castings. The worms might be within the topmost bin layer that has recent bedding and natural matter. Begin the vermicompost over by putting the bin stuffed with worms on the underside with the empty bins on high after harvesting.
For 2-tote newbie vermicomposting programs, you’ll must dump out the highest tote and separate the worms from the castings. Place the castings in a pile and wait a couple of minutes. Then, scatter the topmost layer off the pile. The worms will flee the sunshine and transfer inward within the pile. After just a few scatterings, you’ll have separated the castings to depart a pile of worms.
Utilizing Worm Castings
Worm castings are nutrient-rich! They’re ideally suited for houseplants, container crops, and backyard plots. Use them as part of your common fertilizing routine to make sure your vegetation keep well-fed, vigorous, and robust.
Dietary Content material
Castings are stuffed with nitrogen, iron, calcium, potassium, and phosphorus, amongst different vitamins. They’re good for feeding hungry vegetation, like tomatoes, cucumbers, and corn. Underfertilized houseplants recognize the additional enhance from the vitamins in castings.
The castings are helpful, and so too is the leachate. Mixing the leachate with water at a 10:1 ratio will create a low-dose fertilizer that’s good for indoor or outside vegetation, crops, and flowers. Drain the leachate from the decrease bins typically to harness its microbial advantages.
Backyard Advantages
Worm castings include extra than simply vitamins—they’re stuffed with fungi, micro organism, nematodes, mites, and different critters that assist the backyard. These helpful microbes and animals inhabit the soil and break down natural matter into smaller particles. They create air channels within the soil, and so they course of vitamins into types which might be accessible to plant roots.
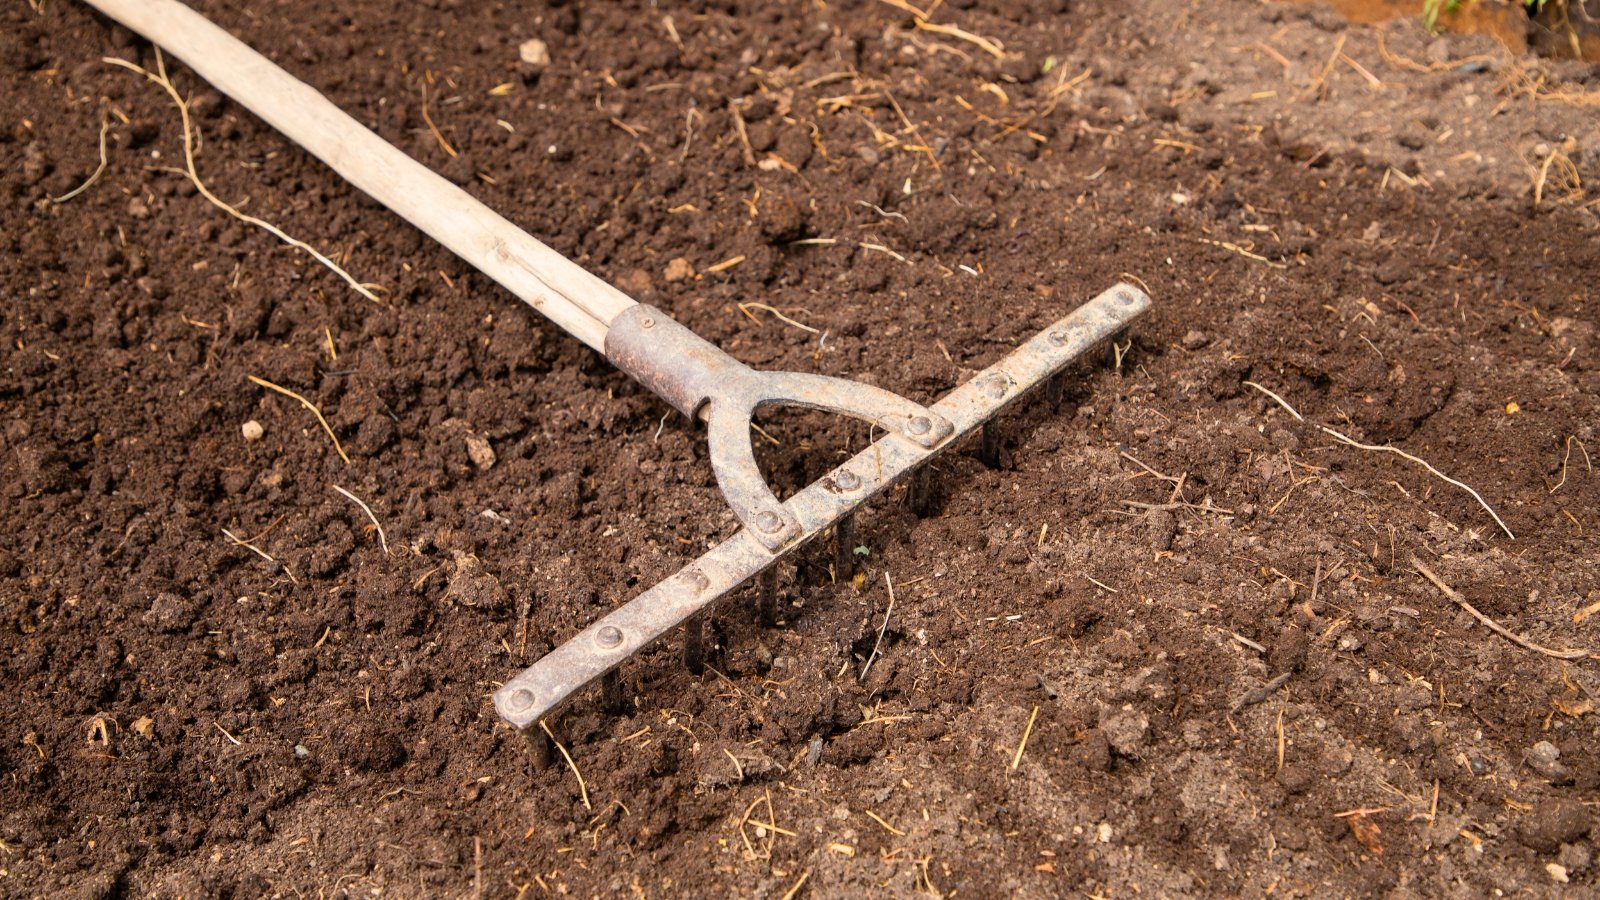
Vermicompost, like regular compost, is a two-part helper within the backyard. It feeds plant roots whereas additionally boosting the standard of the soil. Use it commonly to transform any poor website into one wealthy with loam.
Research show that castings assist vegetation in just a few methods:
- Improve yields
- Cut back pests and illnesses
- Enhance water retention
- Enhance soil high quality
- Add worms to the soil
Methods to Use
Worm castings from vermicomposting include extra vitamins than compost, which means you’ll want so as to add much less of them than different soil amendments. Add a skinny layer of castings on high of the soil within the houseplants’ pots. Within the backyard, place a layer one to 2 inches thick close to veggies, fruits, and flowers. Keep away from placing an excessive amount of close to the vegetation’ stems, because the castings can burn them like fertilizer would.
You might also mix vermicompost with potting soil to create a do-it-yourself mix for planting. Fill containers with the stuff, or put it in your raised beds and plant crops inside. Use not more than about 25% castings when balancing your soil mix.
After harvesting the vermicompost, it’s possible you’ll do one other spherical of vermicomposting, or you may free your wrigglers within the backyard. In case you’re vermicomposting once more, give your worms a recent layer of bedding and natural scraps to set them up for fulfillment. Now you don’t want a newbie’s information for profitable vermicomposting! You are able to do it your self.