
There’s by no means a nasty time to start out composting. Spring, nevertheless, occurs to be the most effective time to get happening a composting venture. The temperatures aren’t blazing scorching (and warmth makes initiating any venture tough). They’re additionally not frigid, which may decelerate the composting course of. The gentle circumstances the season brings are good for a starting.
Compost has so many advantages. It helps you chop down on waste, as your plant particles and kitchen scraps discover new life within the pile. It’s a superb soil modification, enhancing nutrient and water retention, and soil texture. It’s additionally a fantastic useful resource for gardeners who need to construct a backyard from the bottom up, as compost is a superb basis for an excellent soil combine.
You could have seen well-established bay compost programs and huge piles at native farms and nurseries. Whereas these are nice to have, they don’t seem to be the end-all be-all of composting. There are such a lot of alternative ways to compost at residence. So don’t really feel like you must go all out, and know you could at all times adapt your system sooner or later.
Step 1: Decide Your Composting Sort
Earlier than you get into the preliminary planning levels, resolve what sort of composting you need to do. The primary consideration: would you like a scorching pile that makes compost rapidly, or do you like a slower chilly pile? Each will work, however chilly piles take extra time to show into the humusy goodness you must use in your backyard.
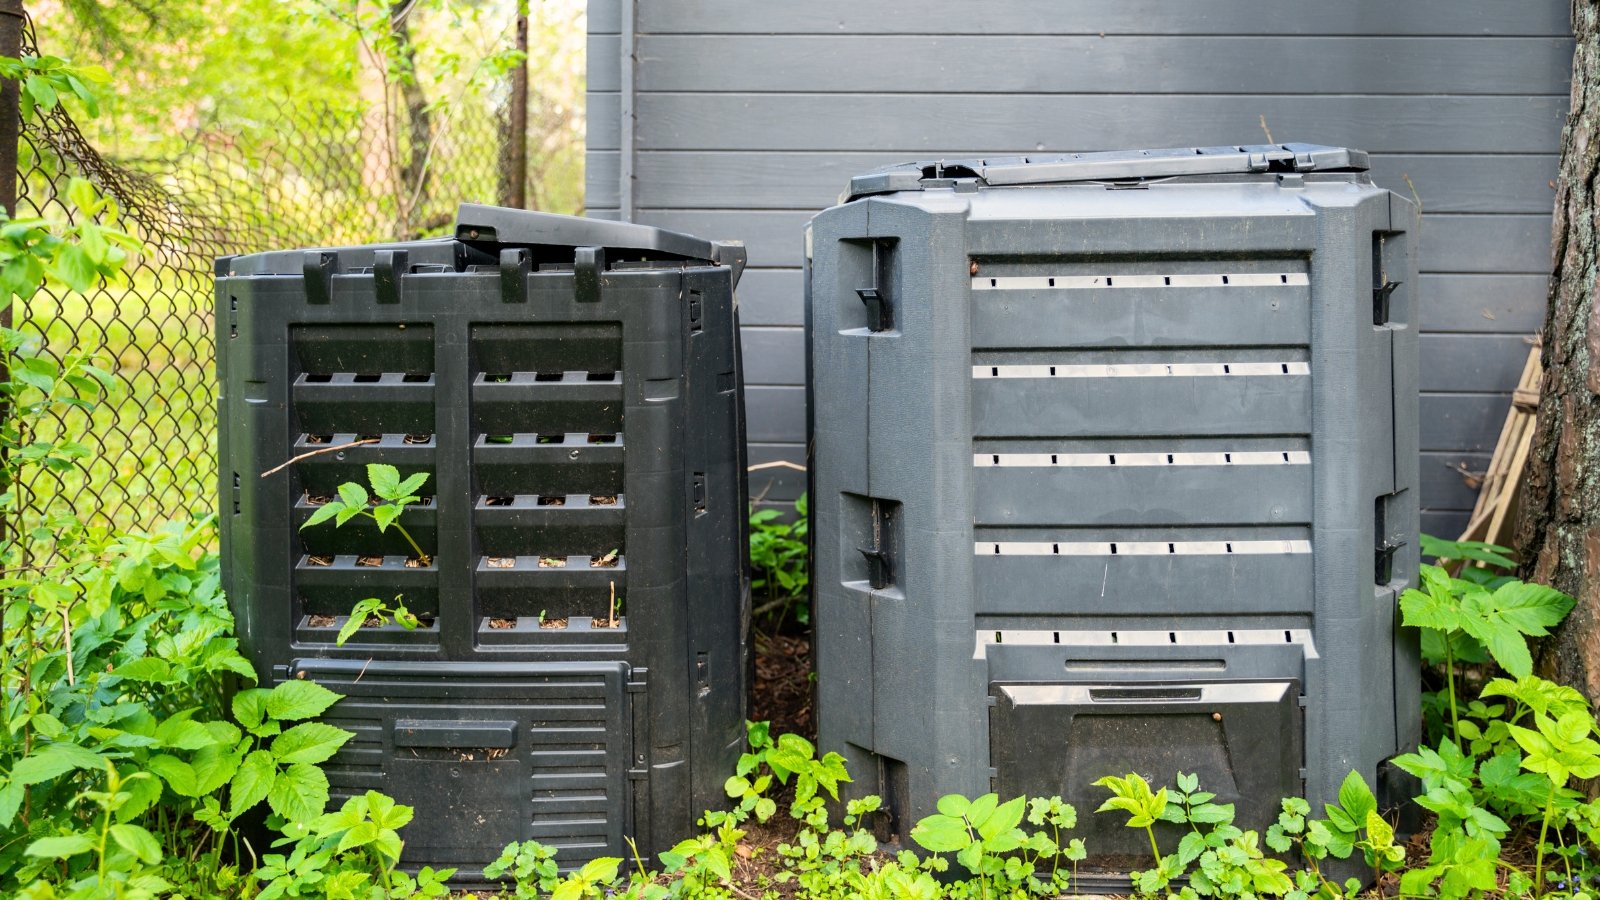
Then resolve if you wish to do a pile, or if you need to include your compost. Piles might be so simple as a pile on the bottom, or as advanced as a bay system. Containers embrace compost tumblers, aerated trash cans, or cages. You could possibly additionally strive composting in place in a keyhole backyard or in raised beds. You may even make pre-compost in your countertop.
Vermicomposting can be an possibility, and this may be accomplished indoors or open air in gentle climates. Understanding which of those you need to do is the muse of the system you arrange in your backyard. Under is an inventory of a number of the kinds of compost programs you should utilize. Begin right here, and also you’ll little question know the place to go.

Step 2: Choose a Web site
When you’re composting in your countertop or vermicomposting indoors, this must be a simple step. When you’re composting open air, choose a website that isn’t in full solar, someplace away out of your raised beds or in-ground backyard, if potential. The positioning must be degree and well-draining. Some shelter and shade will preserve your pile away from harsh parts that may be too intense for the microbiome you’re constructing.
With regards to tumblers, bins, and cages, the identical goes. That is crucial job to finish earlier than you begin composting. Spring occurs to be a superb time to decide on a spot, because the solar is usually at or close to the equinox, and the rains preserve the pile moist via its preliminary levels.
Step 3: Set It Up

When you’re rising in a pile, even when it’s contained in a bay, make sure the spot you select is freed from weeds. Scratch them out with a backyard hoe, or sod lower them with a guide sod cutter. These will develop via the pile within the early levels, so that you need to restrict them as a lot as potential. Contact with the bottom is what offers the native microorganisms, worms, and bugs entry.
Set up pallet bays. For cages and bins, guarantee they’re braced in order that they have sufficient construction to include massive quantities of compost. Arrange your keyhole backyard, or raised beds, should you’re composting in place. For contained compost, it is a easy step. Simply place yours the place you need it. When you’re doing a DIY container, guarantee it’s aerated sufficient. It’s possible you’ll want an internal pipe with holes for the most effective airflow, together with holes on the backside of the bin.
One crucial step is together with a spot in your carbon materials, or your browns. In a bay, you may create an area particularly for that. In bins, have a pile or a second bin close by. No matter you do, it’s good to have a retailer of browns to stability out the greens.
Step 4: Collect Greens and Browns
Each compost pile wants a 3:1 ratio of browns to greens. This can be a nice baseline for how you can stability your pile. Begin gathering kitchen scraps, and as you set them in your pile or container, add 3 times the quantity of carbon.
These carbon bits could possibly be fallen leaves, shredded bark, natural wooden chip mulch, seed-free backyard straw, twigs and branches lower down into small items, non-toxic cardboard, and even dried prunings out of your perennial backyard. What you’re doing is balancing the inexperienced (the contemporary stuff) with the brown (useless stuff that doesn’t include inexperienced).
So chances are you’ll understand that this time is a superb one to start out composting. Spring prunings and the gadgets out of your backyard cleanup can all go in your compost. Get all these collectively, and also you’ve taken care of the toughest elements of the method.
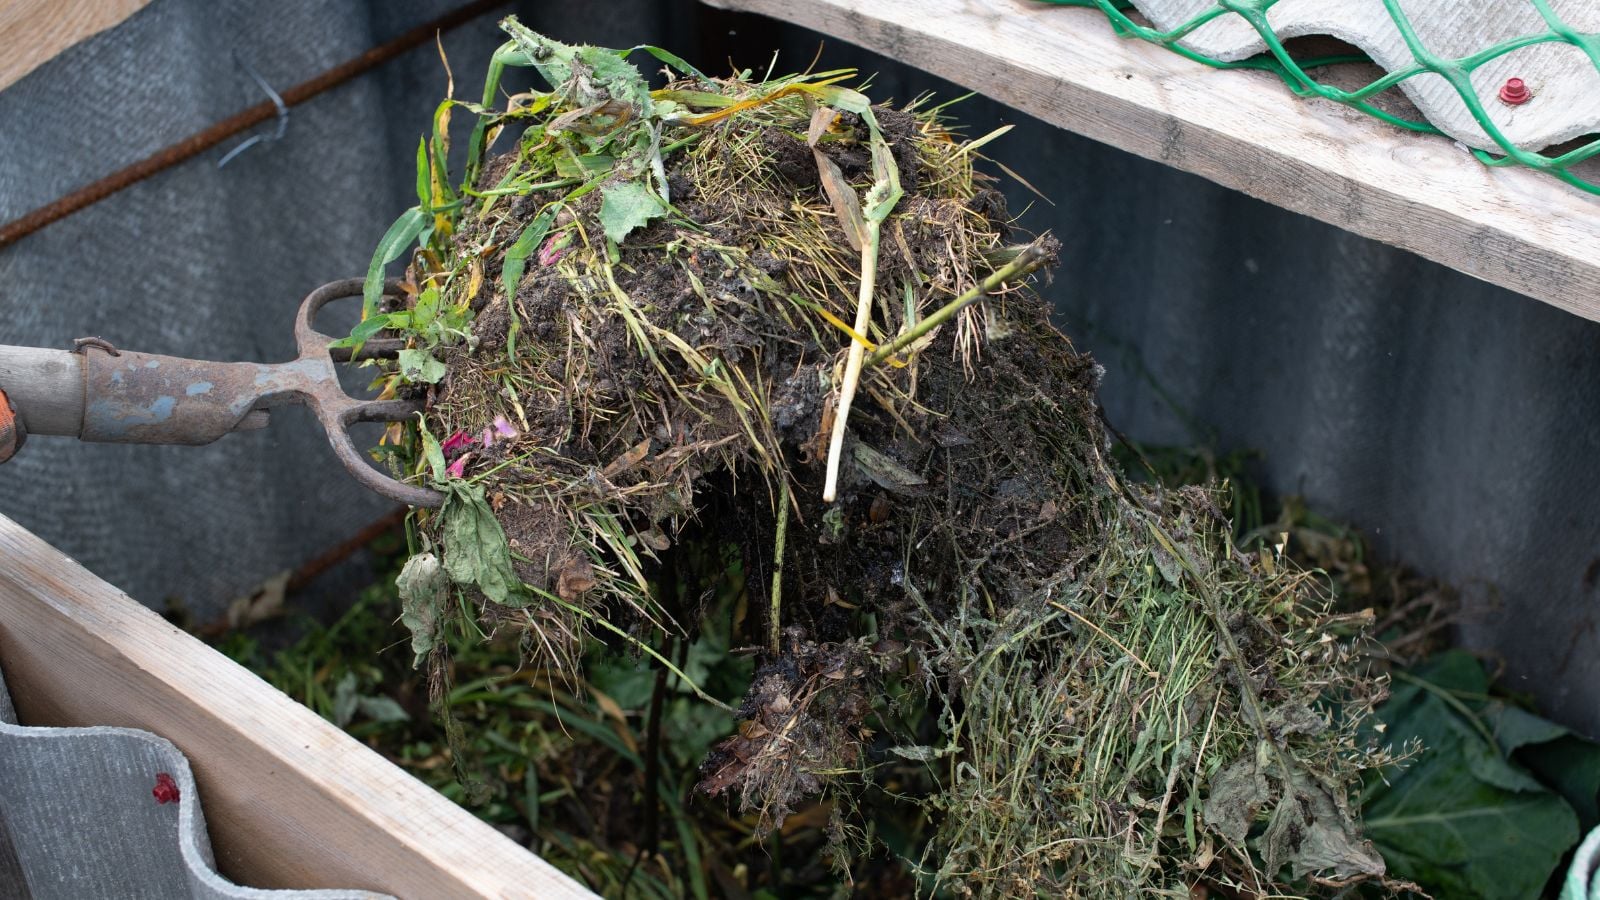
Step 5: Pile and Flip
Now, place your greens within the bin or on the bottom. Then pile 3 times the quantity of browns. Preserve doing this. Each time you add greens, pile on the browns. Preserve a bowl or bucket in your own home for all of your kitchen scraps, and take them out every single day. Then add these useless supplies.
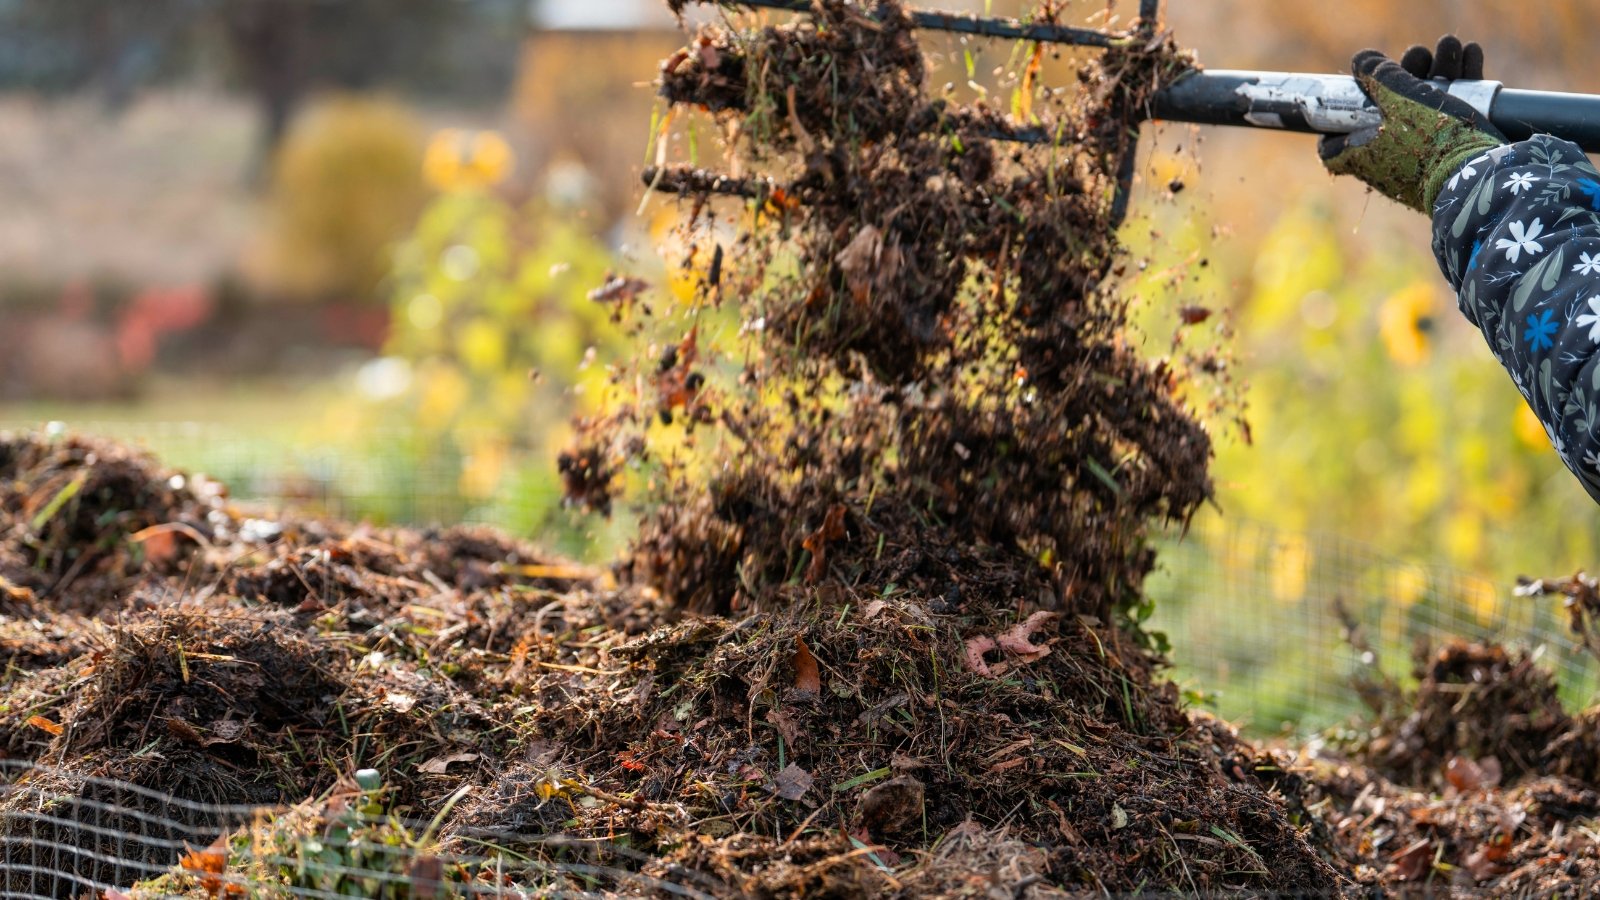
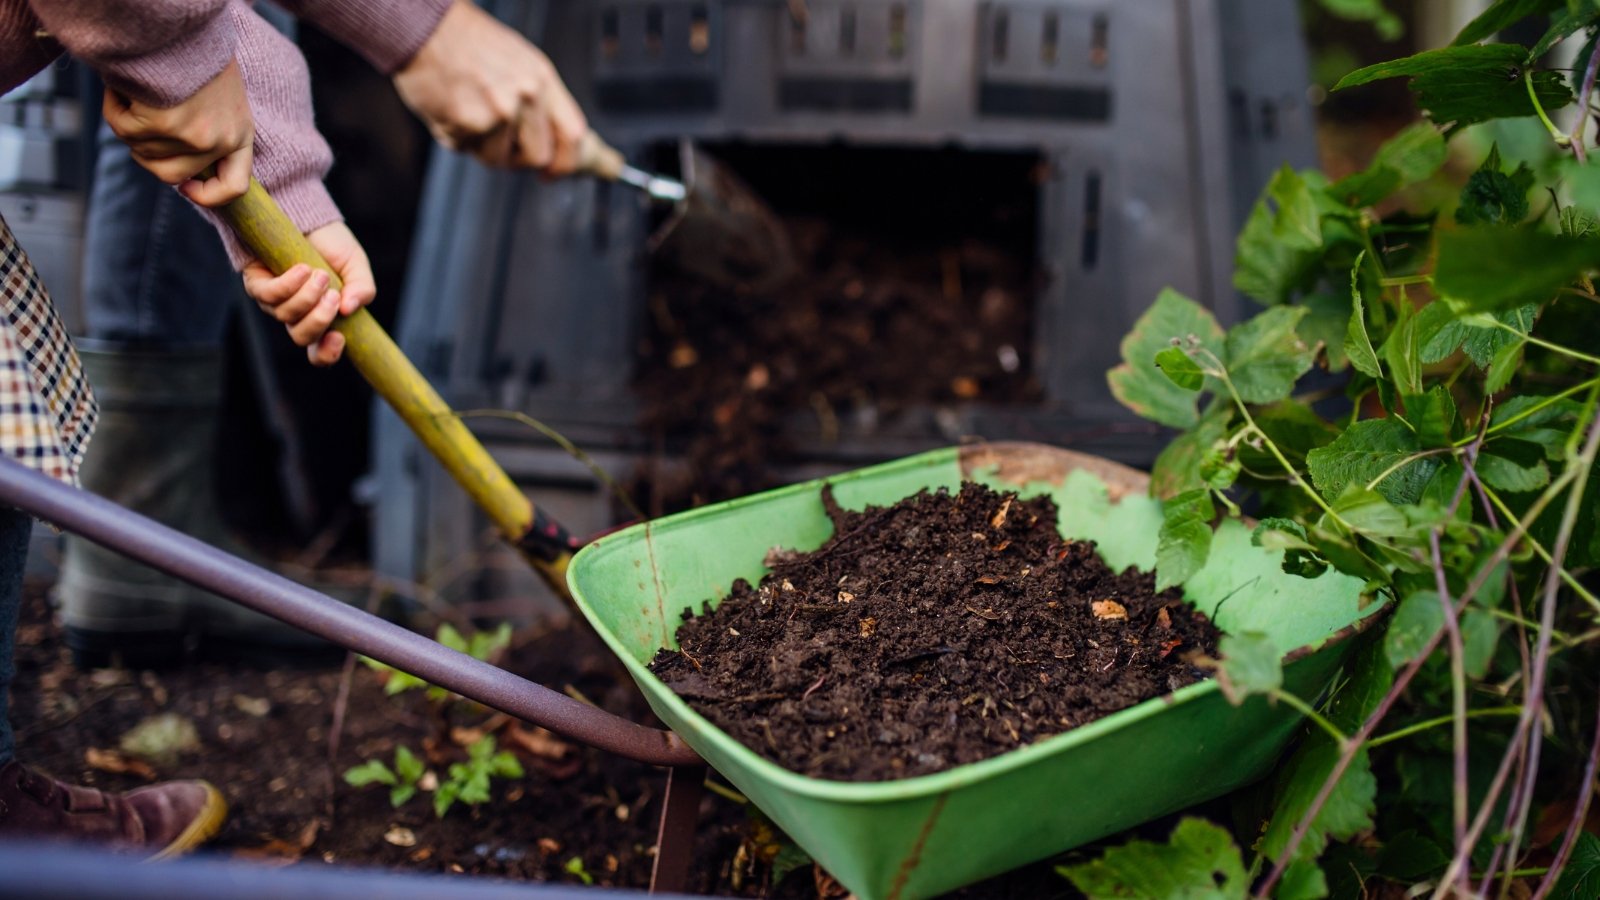
Then, utilizing a pitchfork – I discover that is the simplest device to make use of for turning, however a shovel works – dig beneath the pile and flip it over. Then cowl with extra browns to guard any uncovered unfinished compost. You gained’t want to do that for vermicompost programs. Simply preserve feeding your worms.
For chilly compost piles, you wouldn’t have to show as a lot. Perhaps just a few occasions a season. The purpose with chilly composting is to easily keep the stability. Finally, you’ll get to a completed compost stage the place harvesting is feasible. For decent compost, flip each few days. This retains the cardio course of going and eliminates any potential weed seeds or illnesses that infiltrate the pile with out your data.
Step 6: Deal with Points
If you’re composting, imbalances can come up. If there are too many greens and never sufficient browns, you’ll have a smelly, slimy pile. On the flip facet, a useless pile is the results of too many browns and never sufficient moisture. If these conditions come up, merely rebalance by including the lacking ingredient.
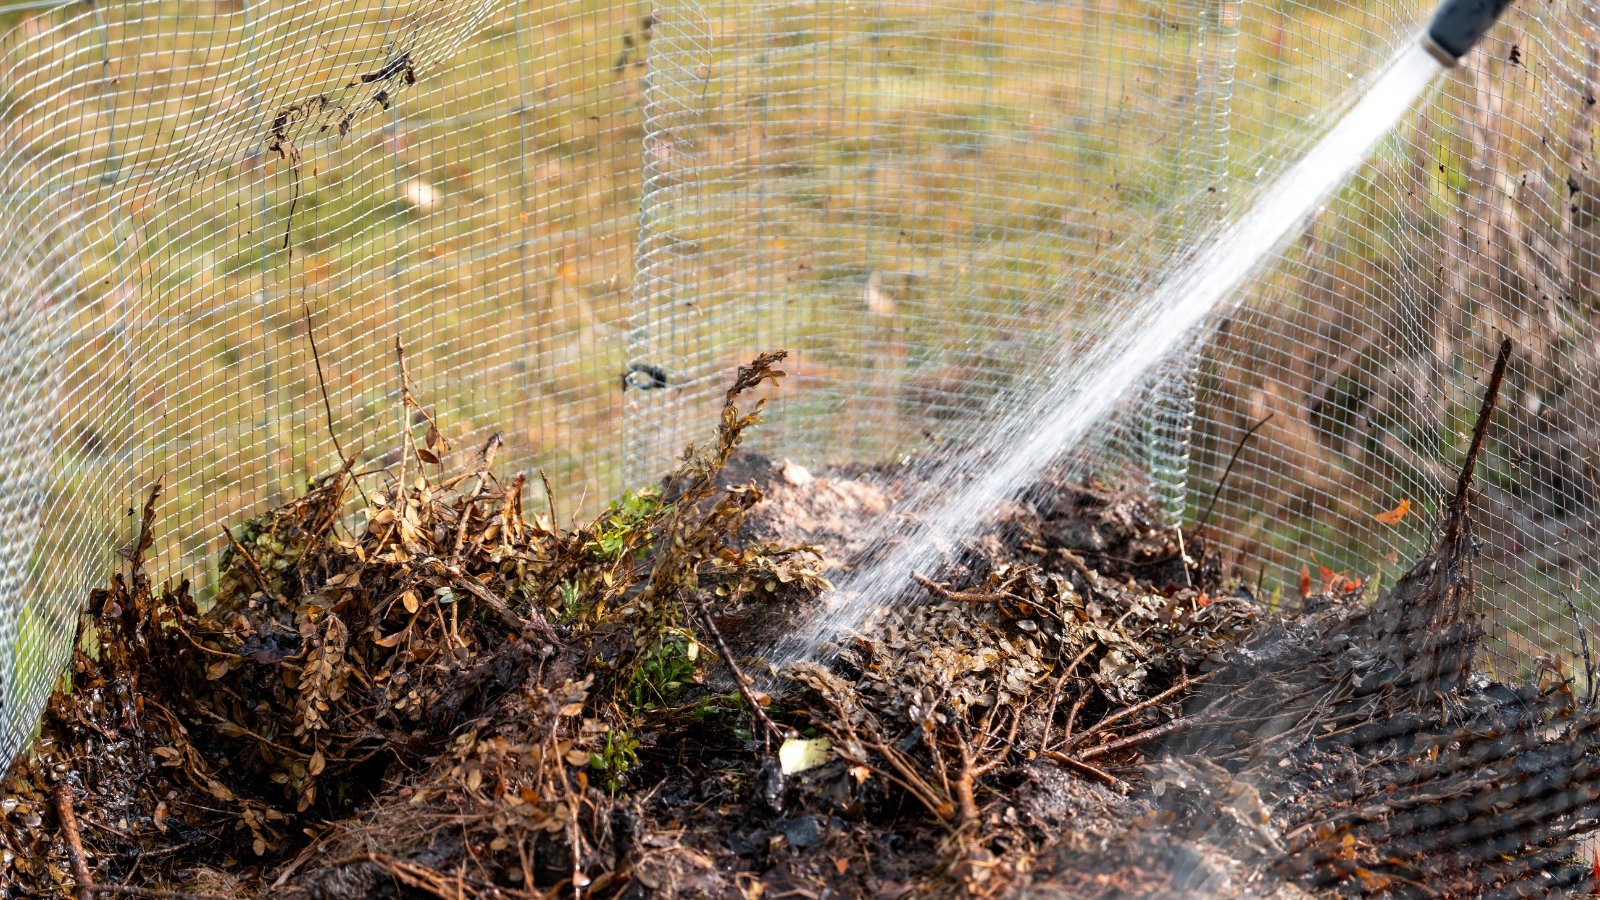
Add extra carbon if the pile smells. Add extra kitchen scraps and contemporary clippings if the pile is useless. If it’s too dry, water the pile. Keep in mind to water via dry seasons, making certain the middle of the pile is moist however not dripping moist. In case you have little critters nibbling the pile, discover a solution to preserve them out by way of covers and containers.
A pile you’re chilly composting may seem useless, however it’s simply shifting extra slowly. Simply preserve piling to take care of the stability, and preserve it moist.
Step 7: Preserve It Up
In winter, it’s good (however not mandatory) to cowl piles with a tarp to lure in warmth and defend them from harsh winter climate. Sizzling compost piles are often prepared to reap in just a few months. Chilly compost is prepared in six months to a 12 months. If you harvest, sieve the compost to take away any supplies which might be nonetheless breaking down, and return them. Then pile on just a little brown materials.
You’ll discover that because the seasons go on, you’ve included the most effective soil-building assets in your backyard. That is the right facet dressing in your perennials, and the most effective parts in an excellent seed beginning combine. It’s additionally good for potting mixes and refreshing previous potting soil. Preserve going along with your pile, and also you gained’t remorse the trouble it took to get to that wealthy humus.