
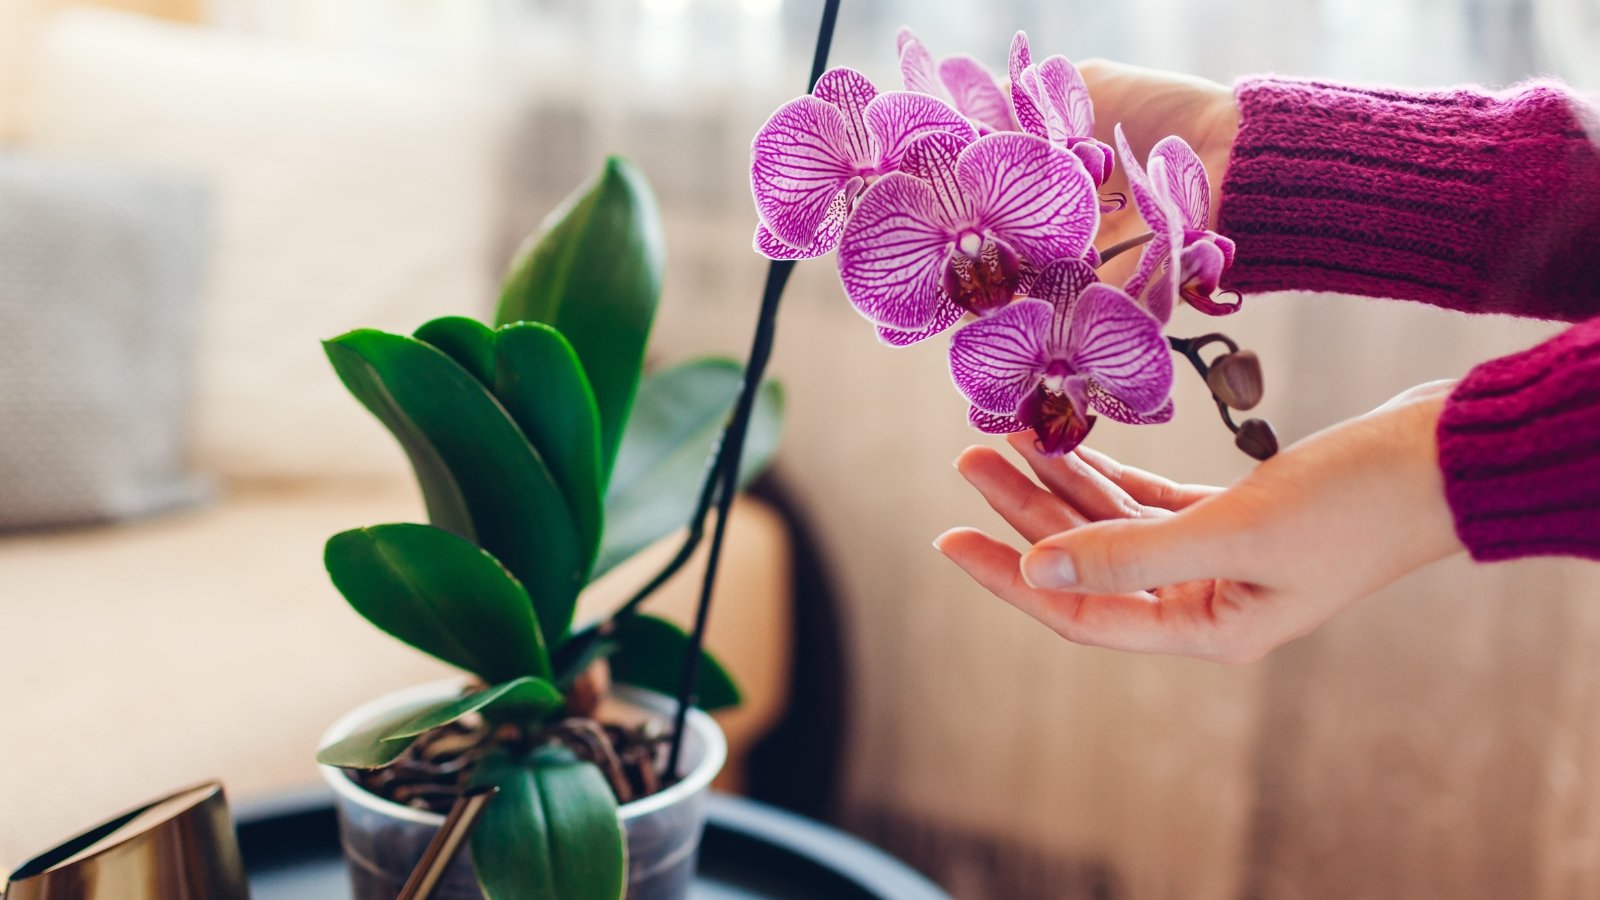
There are extra orchids than one can depend! Round 28,000 species exist worldwide, and there are various hybrids and cultivars obtainable from plant nurseries and on-line retailers. Every kind requires totally different care to thrive—some develop on the bottom, others thrive on bushes, and some tolerate extremely dry situations.
Irrespective of which kind you will have, these stunning flower stalks will finally shrivel up and switch brown. This doesn’t often imply the orchid is useless. Somewhat, it’s simply resting till a brand new flower stalk emerges.
For orchids which can be trying a bit unhappy, there are steps you’ll be able to take to revive them. Getting orchids to flower once more is a sought-after talent, so why not take up the 30-day orchid revival problem? Observe these steps to encourage new blooms in your orchid in beneath a month.

Step 1: Examine the Sticks
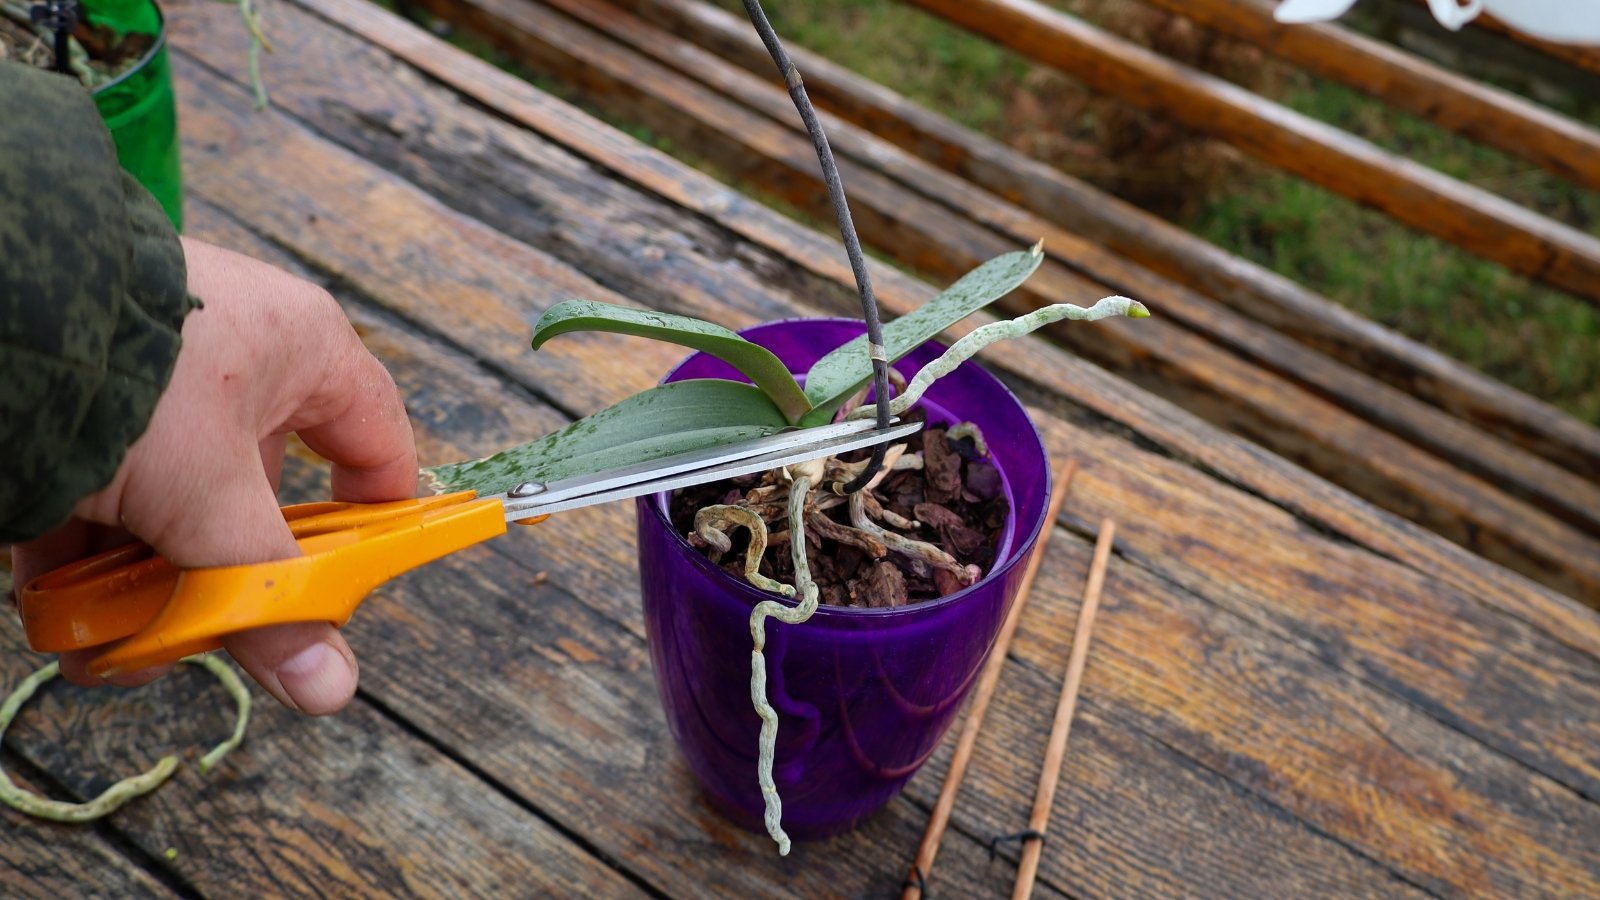
Step one within the orchid revival problem is to determine your plan of assault based mostly on the flower stalk’s look.
After blooming, orchid flowering spikes might keep inexperienced or flip brown and brittle. Some varieties, like moth orchids, might rebloom from the identical sticks, whereas others have to develop new ones for recent blooms. Examine the flowering sticks first, then determine whether or not or to not prune them.
If the sticks are brown and brittle, lower them off at their base. Keep away from harming any of the inexperienced, tender leaves, and use sharp pruners to slice cleanly by means of the stems.
If the stems are inexperienced, lower them again to the primary node from the bottom. Use sterile pruners and lower above the node, the place the stem grows bigger in diameter. Sterilize pruners with rubbing alcohol, and allow them to dry absolutely earlier than utilizing them on the flowering stems.
Eradicating the useless progress will encourage the orchid crops to redirect power in direction of sprouting wholesome roots and leaves. To finish the orchid revival problem, you will need to take away any rotting, useless, or broken elements to make room for brand new progress.
Step 2: Take away Orchid from Pot
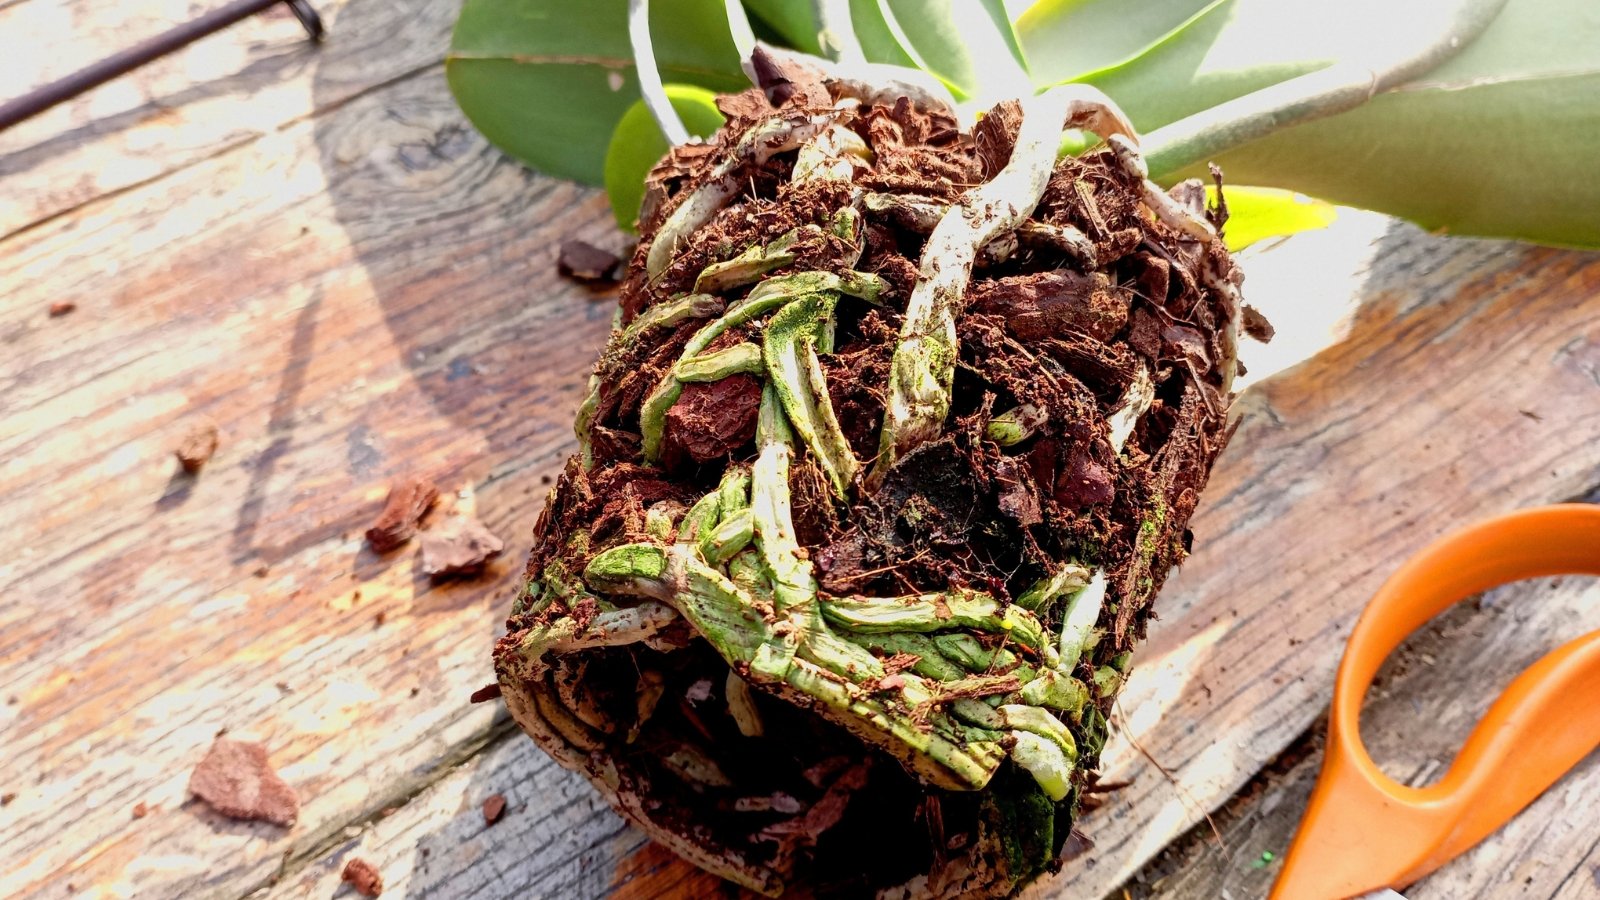
Retailer-bought orchids usually develop in cramped situations the place their roots rot shortly after sprouting. They might decline after you convey them house, and that is doubtless one of many explanation why. Cramped, overwatered roots rot, turning mushy and black.
Begin by eradicating the struggling orchid from its pot. For those who not too long ago repotted the orchid, you don’t want to do that step. If the orchid is struggling and it got here from the shop, a repot is a should for long-term rising success.
Gently take out the orchid, and take away the potting materials from the roots. Take away bark, moss, and soil, taking care to not harm the roots or any remaining leaves.
If the plant received’t come out of the plastic pot, use scissors or shears to chop open the pot and take away the orchid. Reduce near the pot so that you don’t snip any of the remaining dwell roots.
Step 3: Reduce Off Rotting Roots

Rotting roots seem yellow, black, and shriveled. After they sit in moist, soggy situations for too lengthy, they start to rot and switch mushy. Use sterile pruners to take away each useless root, leaving solely dwell ones remaining.
Far-gone orchids might not have any wholesome roots, however they’ll probably have dwell leaves. Take away all roots, leaving nothing however the leaves remaining. New roots will sprout if the crops develop in the proper situations throughout the orchid revival problem.
It’s referred to as a problem for a motive! Not all orchids will survive. They’re resilient crops, however extraordinarily broken specimens want a number of power to get well. An orchid with out inexperienced leaves or roots will battle to photosynthesize and get well.
Step 4: Soak the Orchid
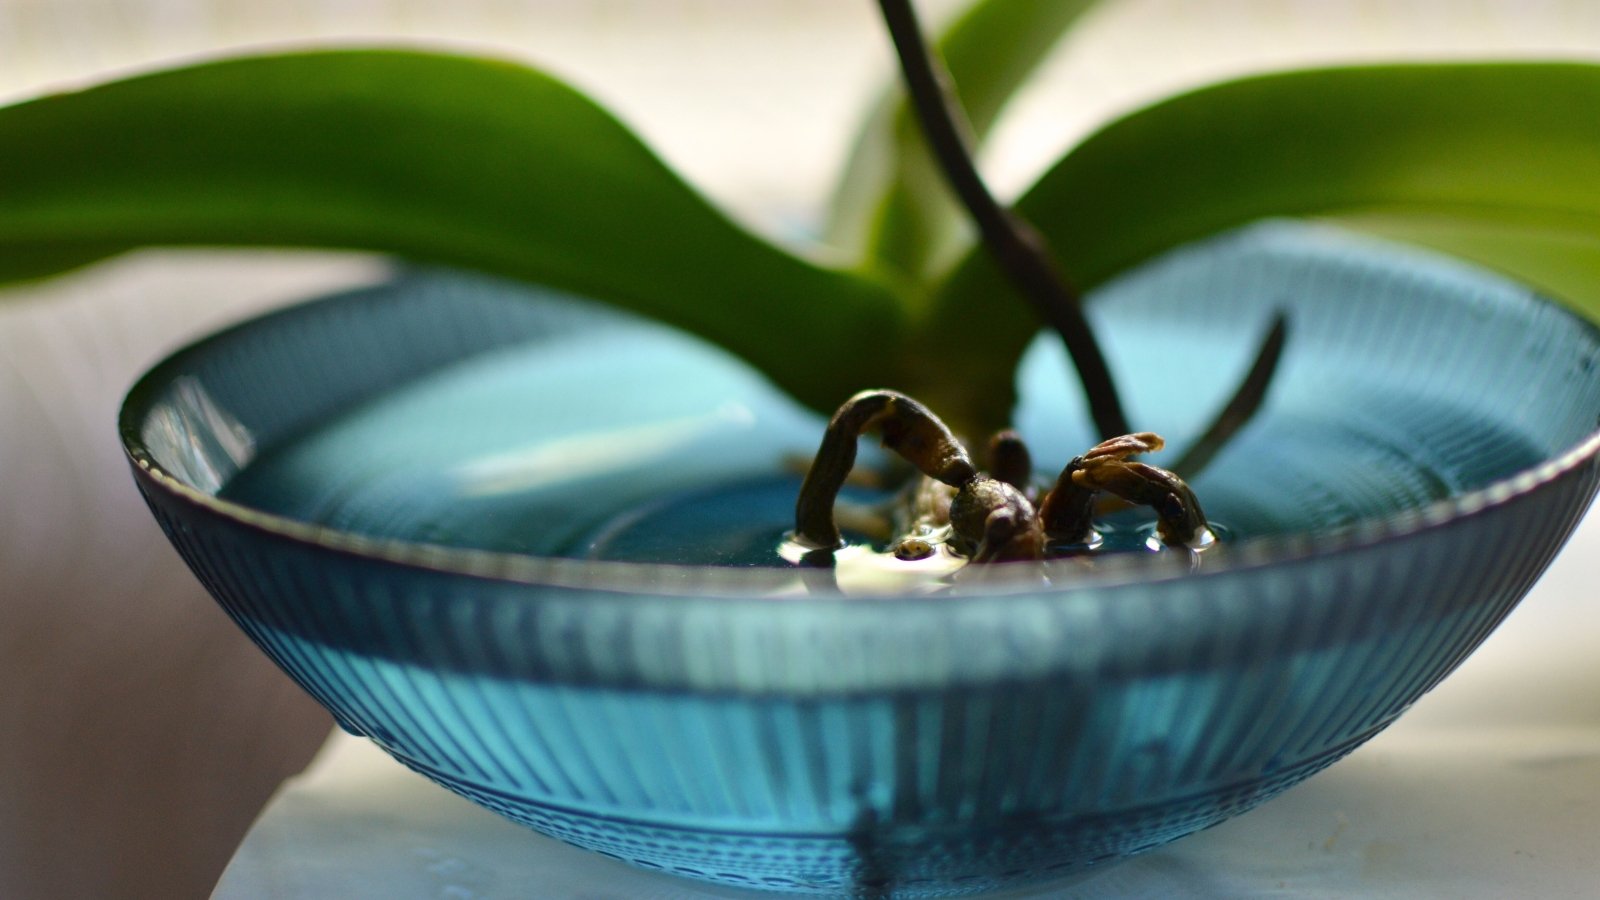
Dry, underwatered crops profit from a superb soaking. Much like epiphytic air crops, many orchids like soaking all their leaves and roots in water sometimes. Place forgotten or uncared-for specimens in a bath of water to rehydrate them.
Do that step earlier than the repotting course of to assist it transition into its new house. A well-hydrated orchid could have extra probabilities of reviving itself than an underwatered, shriveled specimen.
Go away the orchid in water for an hour or longer, and not than a full day. Take away it, let it dry, and set it close by for the transplanting course of.
Step 5: Repot the Plant
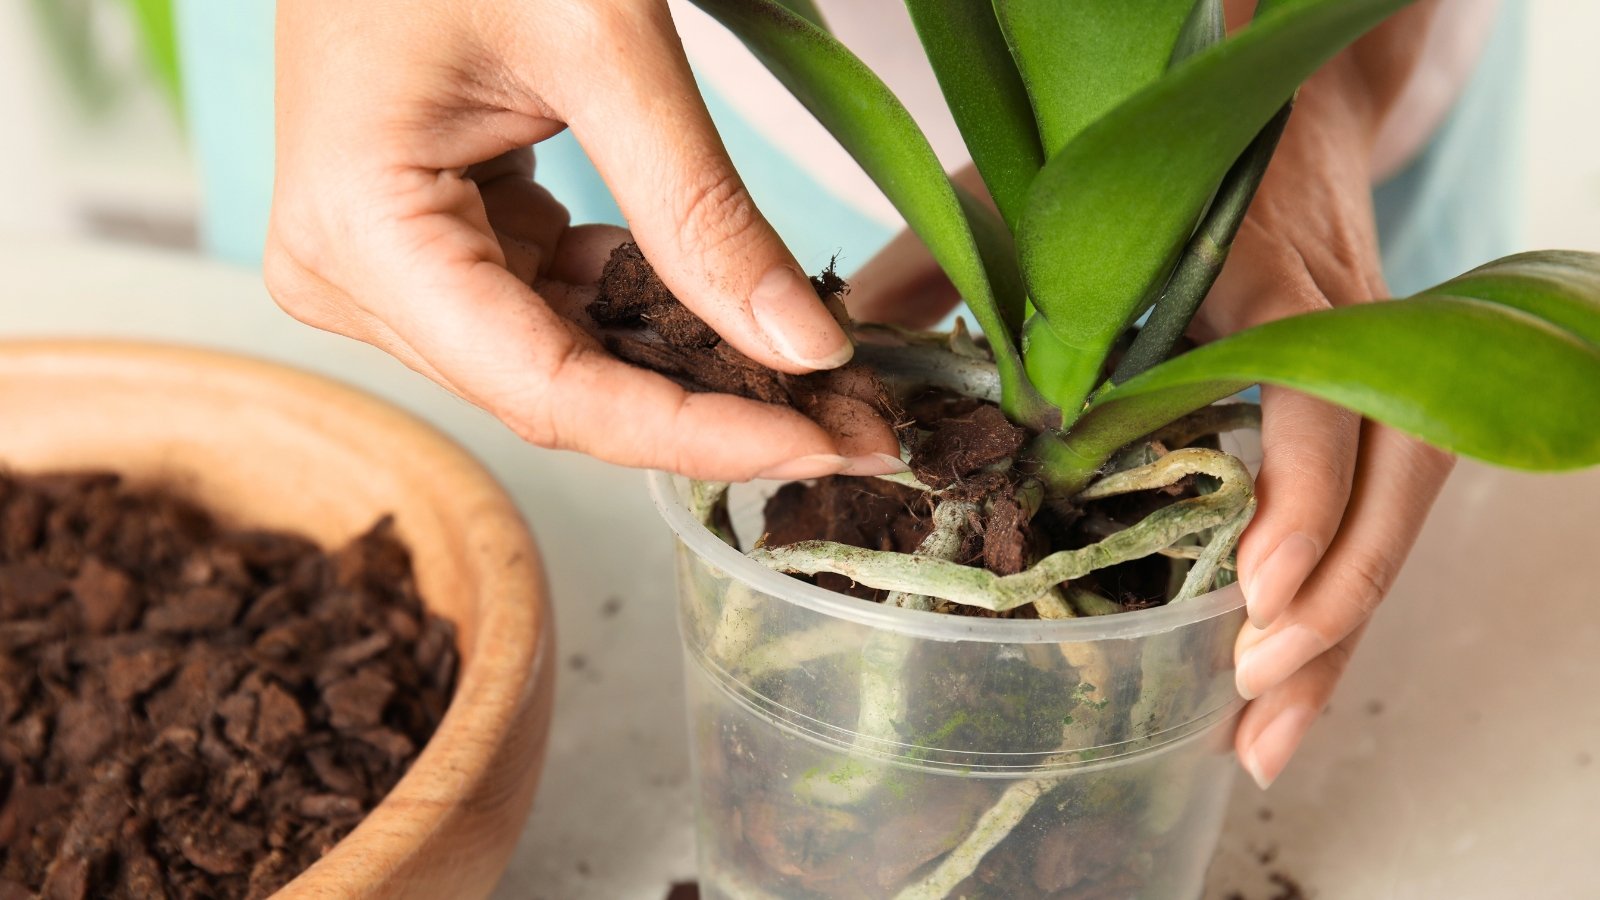
Epicphytic, tree-dwelling species favor rising in an orchid potting combine. It ought to have bark, moss, or each supplies. Moss mixes want rare watering, whereas bark mixes require extra frequent watering.
For the container, select a medium-sized pot that the remaining roots will match into, and guarantee it has a drainage gap on the underside. After the orchid revival problem, snaking new roots will start to poke out of the highest of the container. Set a skinny layer of moss, bark, or each supplies on the underside of the pot.
Place the plant contained in the pot, and add extra of the potting medium till the bottom of the orchid is roofed. Water the pot effectively, letting the water drain freely from it. Then, set the pot on a saucer and place it someplace heat and well-lit in your house.
Step 6: Present Constant Care

Moth orchids and related varieties favor vibrant, oblique gentle indoors. They want a well-lit spot, and darkish rooms is not going to do. Some direct daylight is okay, however too many hours of direct daylight will trigger burning and shriveling.
Orchids want heat temperatures throughout the rising season. Within the fall and winter, they profit from barely cooler temperatures to provoke new flowering buds. Set them close to a window or one other vibrant spot away from heaters and A/C items.
Most orchids love humidity. Present it with a pebble tray beneath the pot, or use a humidifier close by to spice up the humidity.
Orchids want common fertilizer to develop their greatest. Use an orchid-specific fertilizer, or dilute an natural liquid fertilizer to 1 / 4 of its energy and drench the leaves and roots. Accomplish that as soon as a month throughout the rising season.
The ultimate care consideration, and arguably an important, is watering! Give your orchid common water, letting it dry out barely earlier than including extra. Don’t overwater, as it will forestall new roots from forming and trigger the present ones to rot. Err on the aspect of getting a dry potting medium somewhat than a soggy one.
Step 7: Look ahead to Blooms to Seem
And that’s all there’s to it! Progress shall be gradual within the first 30 days of the orchid revival problem. After leaves and new roots sprout, progress will start to hurry up and improve because the rising season progresses. Within the cool months, flowering buds will start to kind on spikes that emerge from the bottom.
Be affected person after the repotting course of. Rootless or leafless specimens might take greater than a month or two to get well, they usually might not match into the tight timeline of this orchid revival problem. Revival depends on persistence, constant care, and cautious watering.
The longer you take care of your orchid, the higher you’ll get at recognizing its wants. Repot it each two to a few years, and grant it situations much like these in its native vary. A contented plant will reward you with colourful, elegant, and complicated blooms.
Key Takeaways
Ceaselessly Requested Questions
Take away the previous spikes and supply correct care to encourage extra blooms.
It could be the mistaken time of 12 months for blooms, or your crops lack the vitamins they should thrive. Observe these 9 tricks to encourage your orchid to rebloom.
Take away useless, rotting progress, present recent soil, and provides the plant the care it must thrive. Present vibrant gentle, constant moisture, and frost-free climate.